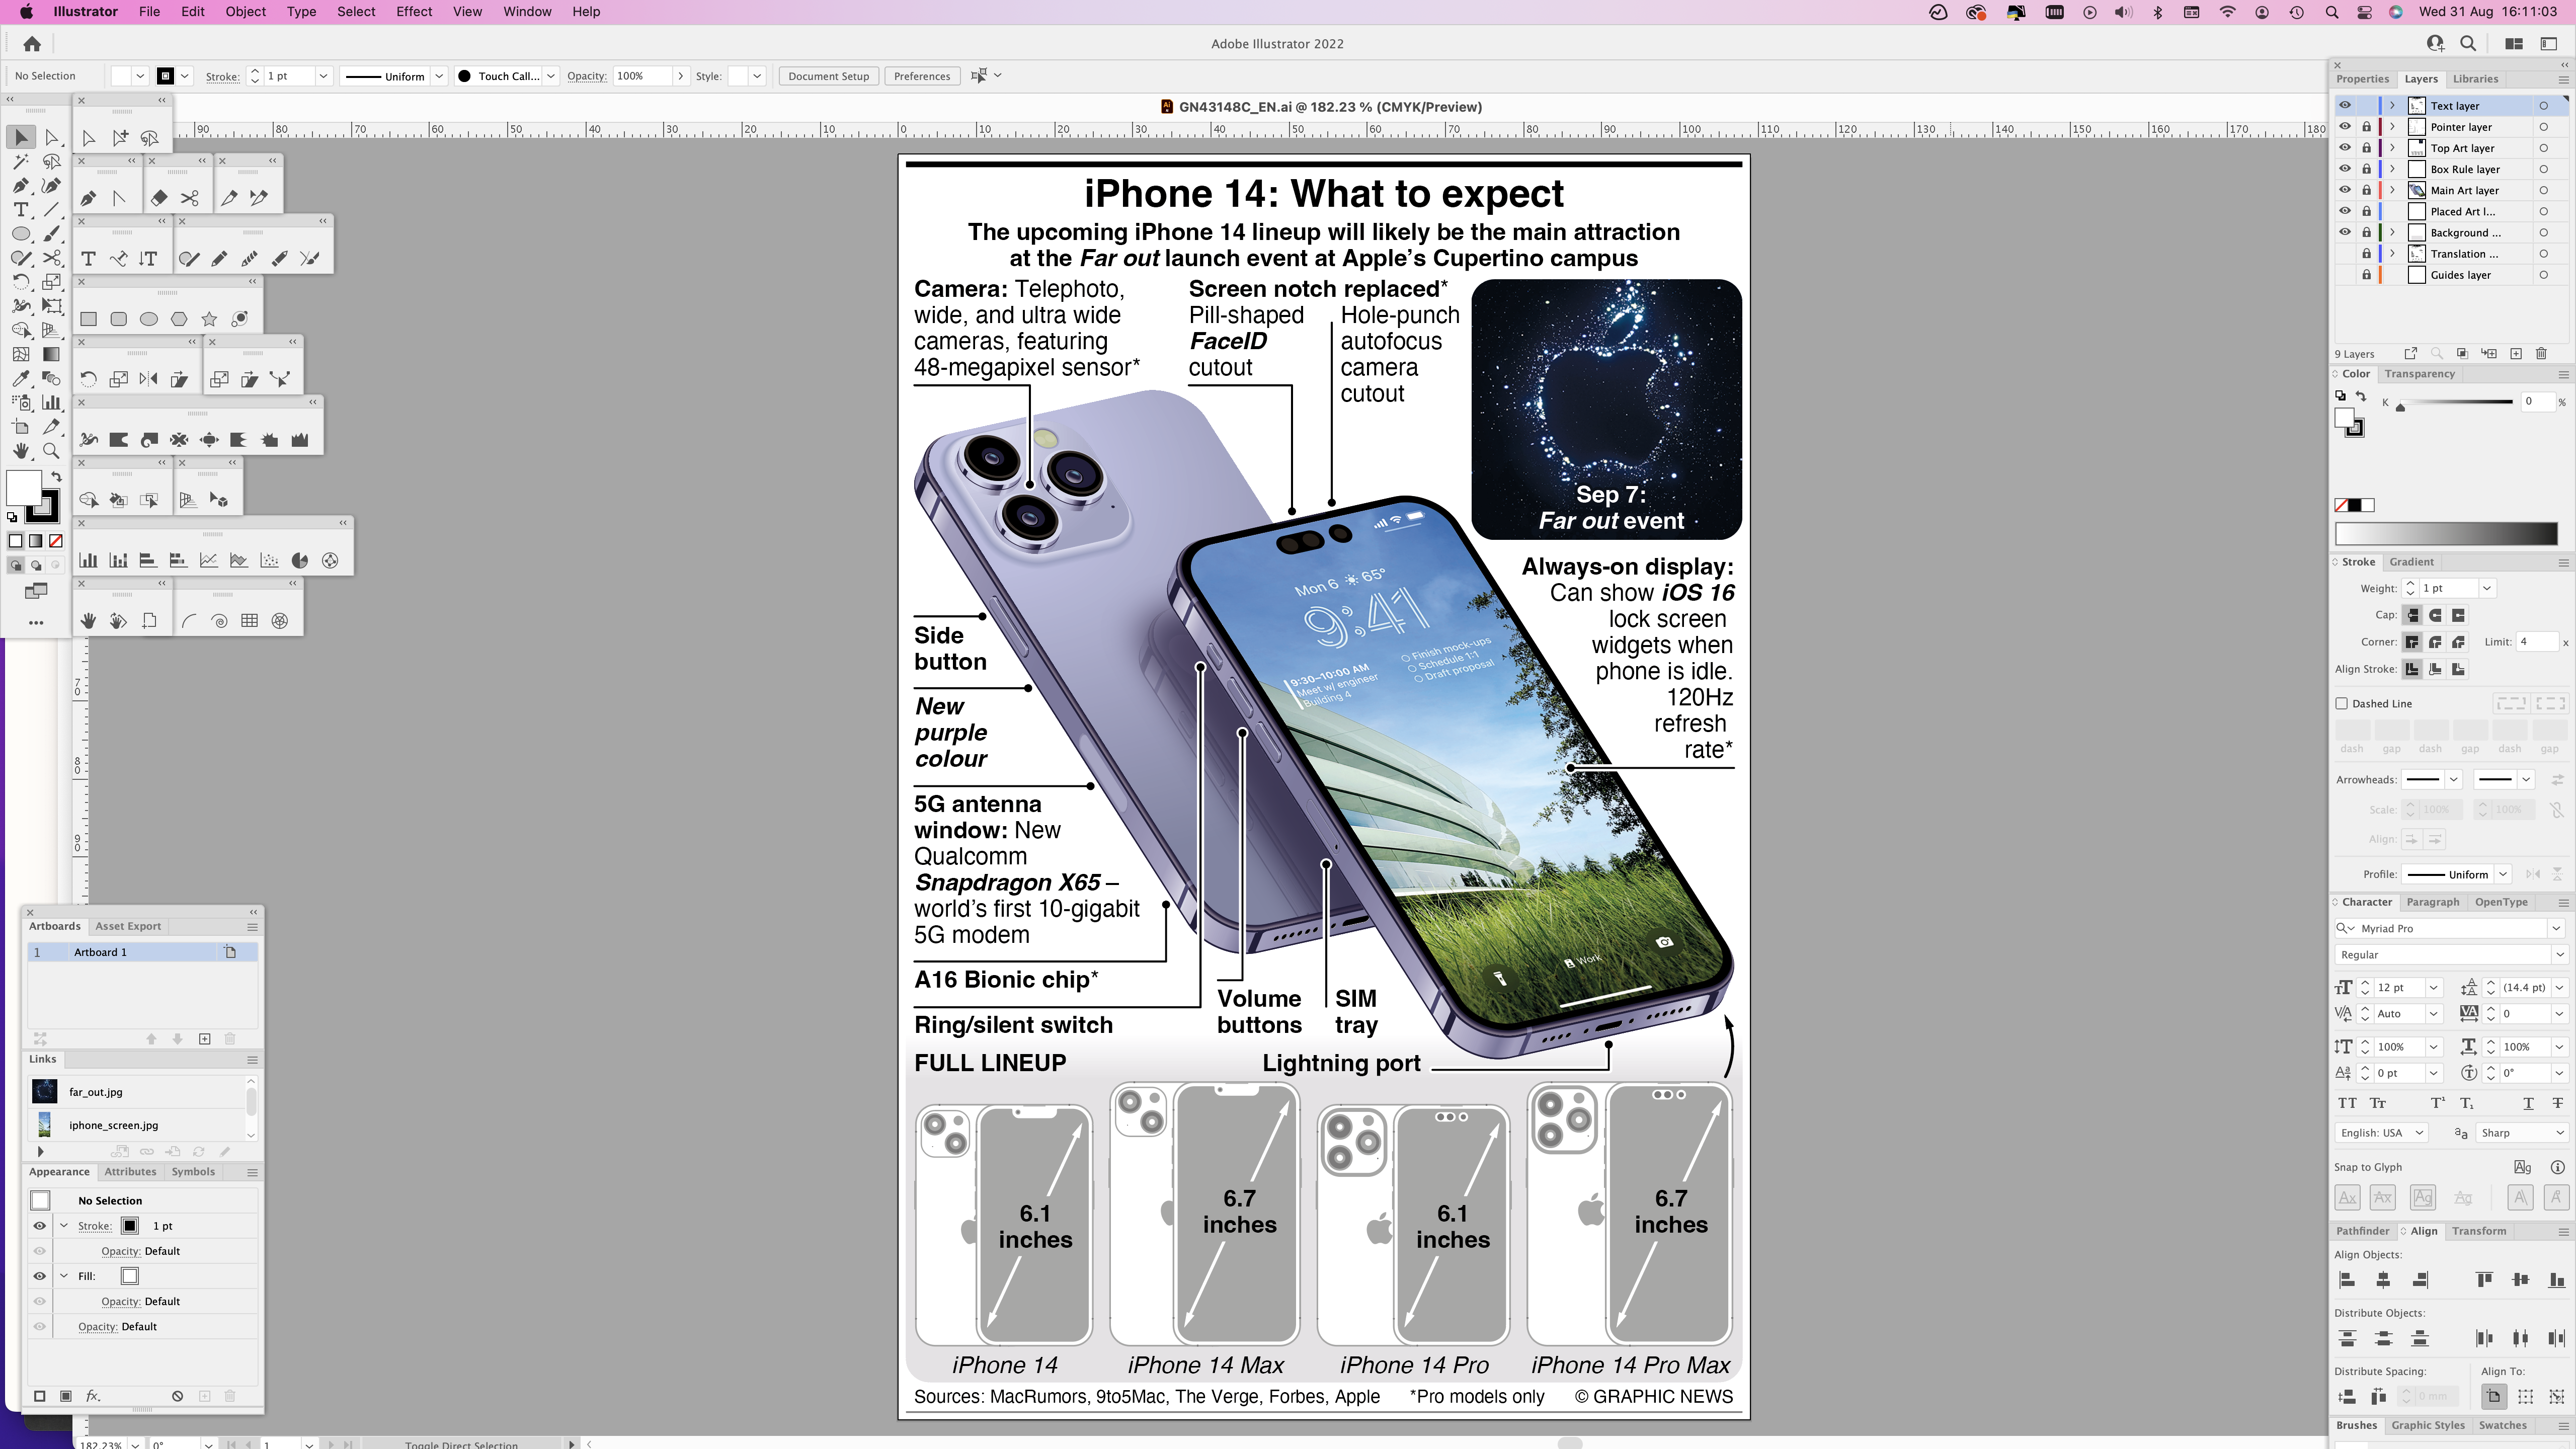
Yesterday, I completed a graphic based on rumours surrounding what the new iPhone 14 may look like when it’s unveiled next week. As has become the way of things for Apple, there have been a lot of leaks. I mostly used MacRumors website as a source. Below are a series of screenshots from the process I went through to mock-up a pseudo-realistic iPhone in Adobe Illustrator.
Note: If you want, tap an image to see it in high-resolution.
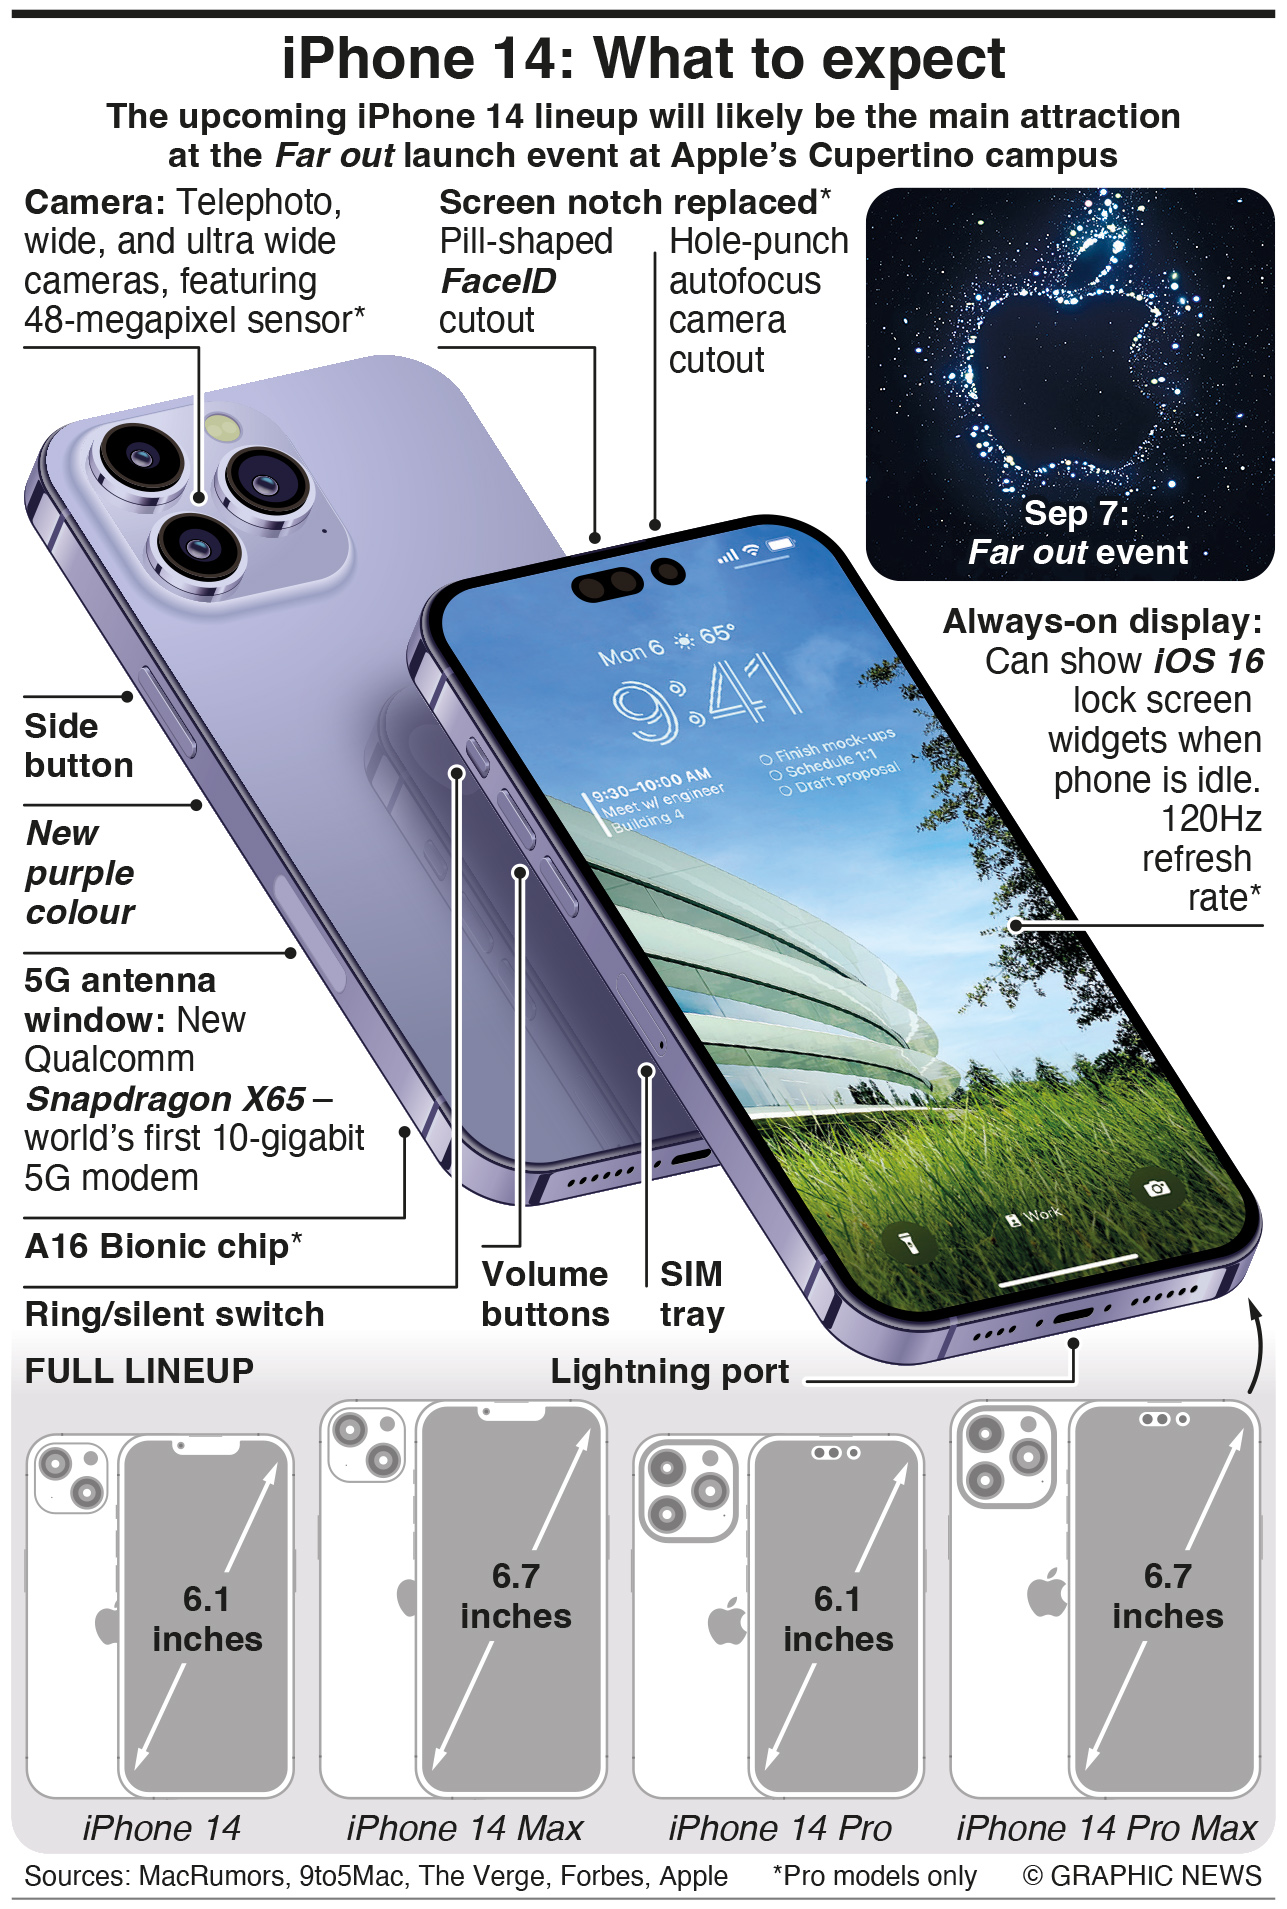 |
| The completed graphic (it can be licensed here) |
 |
| Step 1: Gather good schematics of what it will look like – this is the Pro Max model, apparently. |
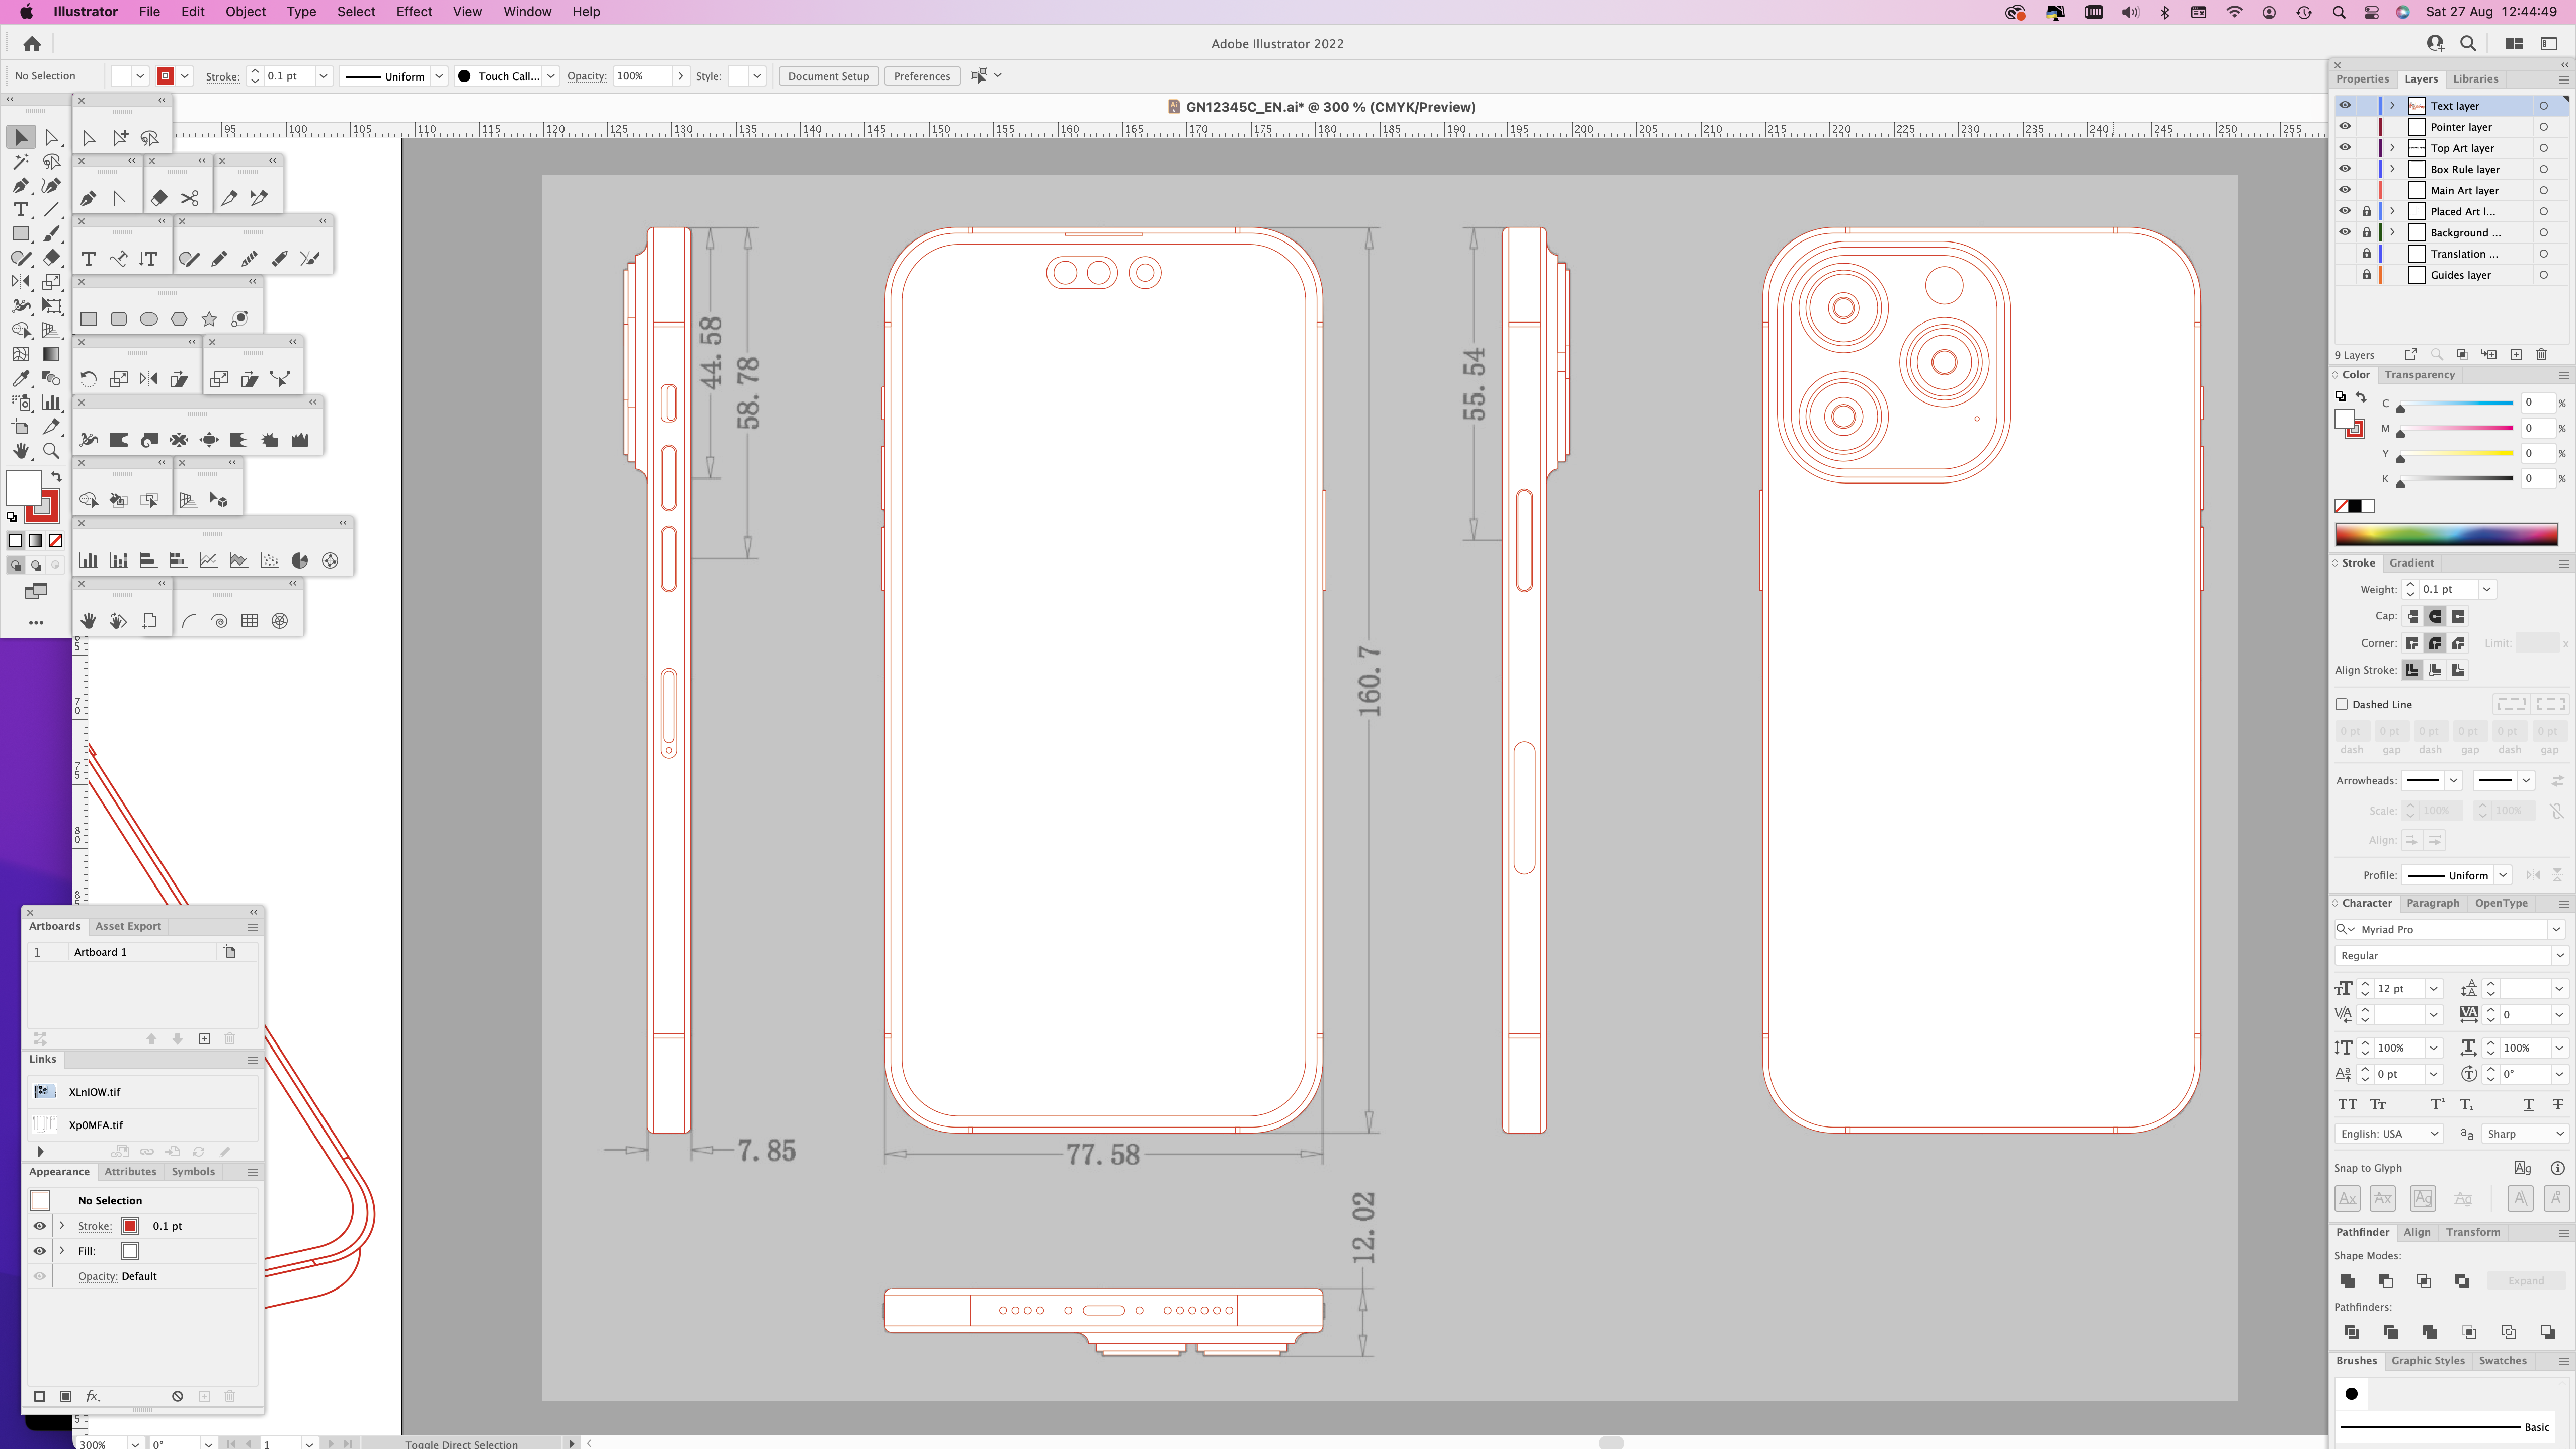 |
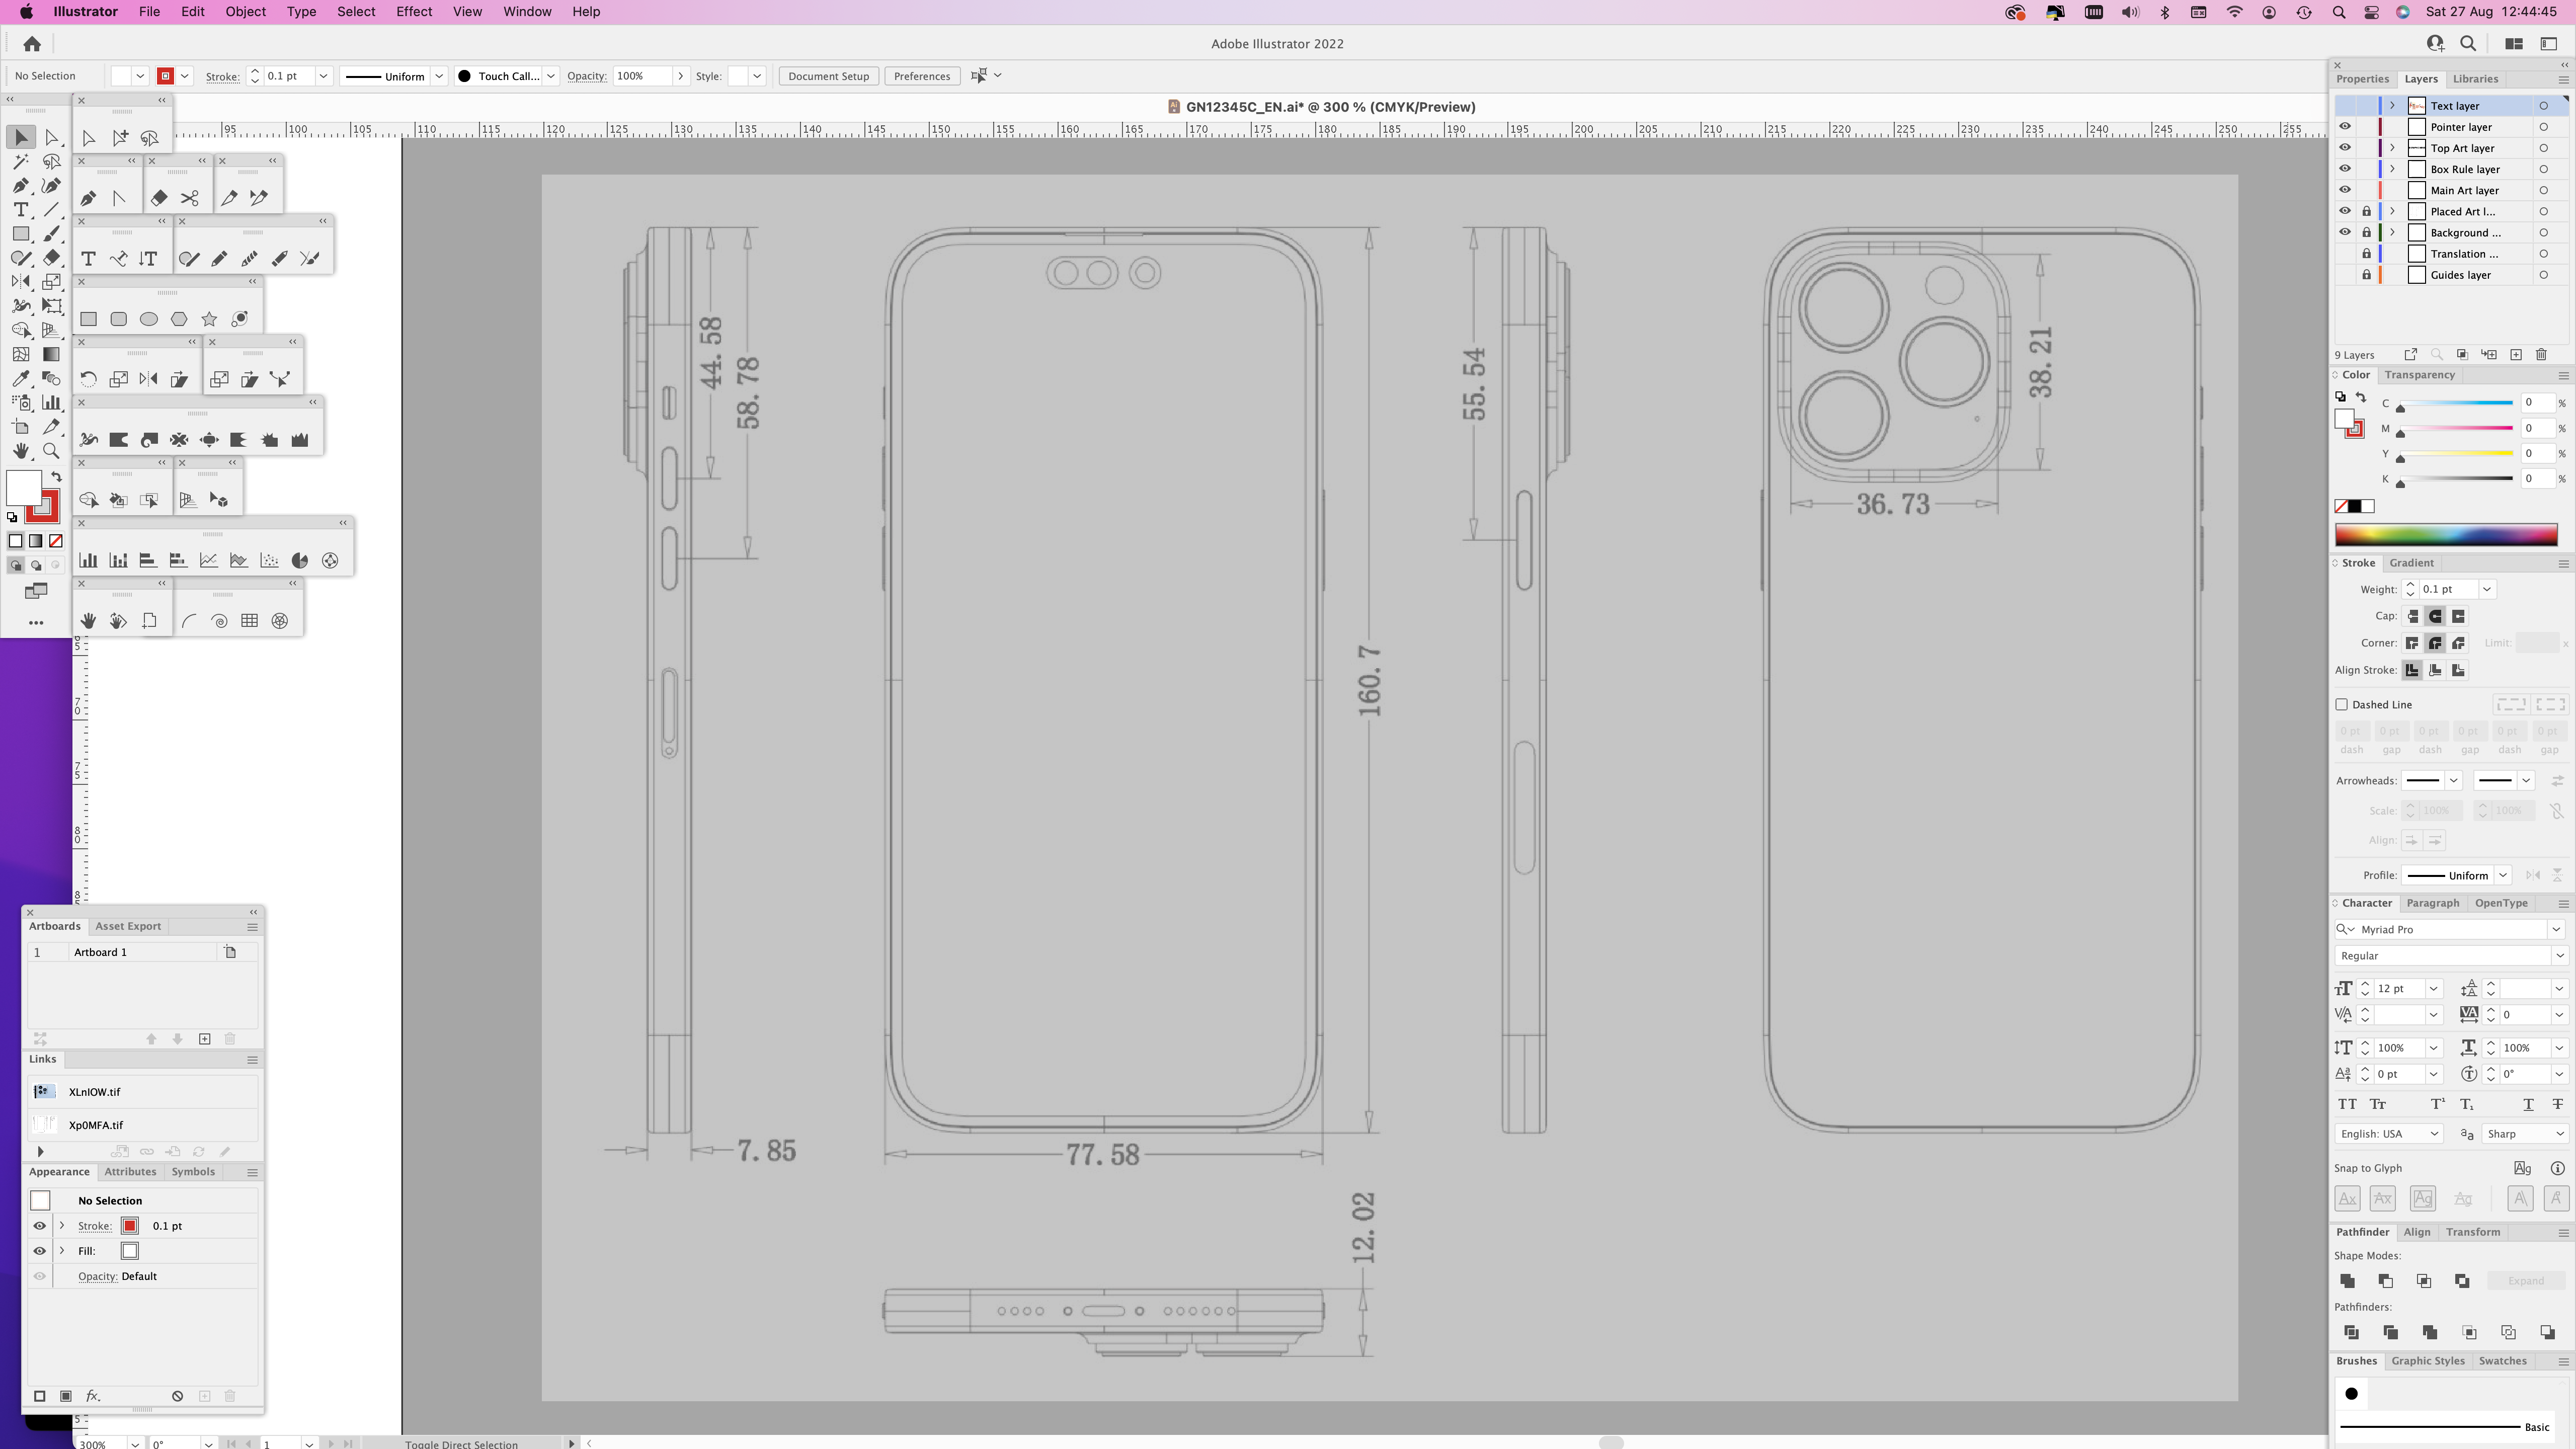
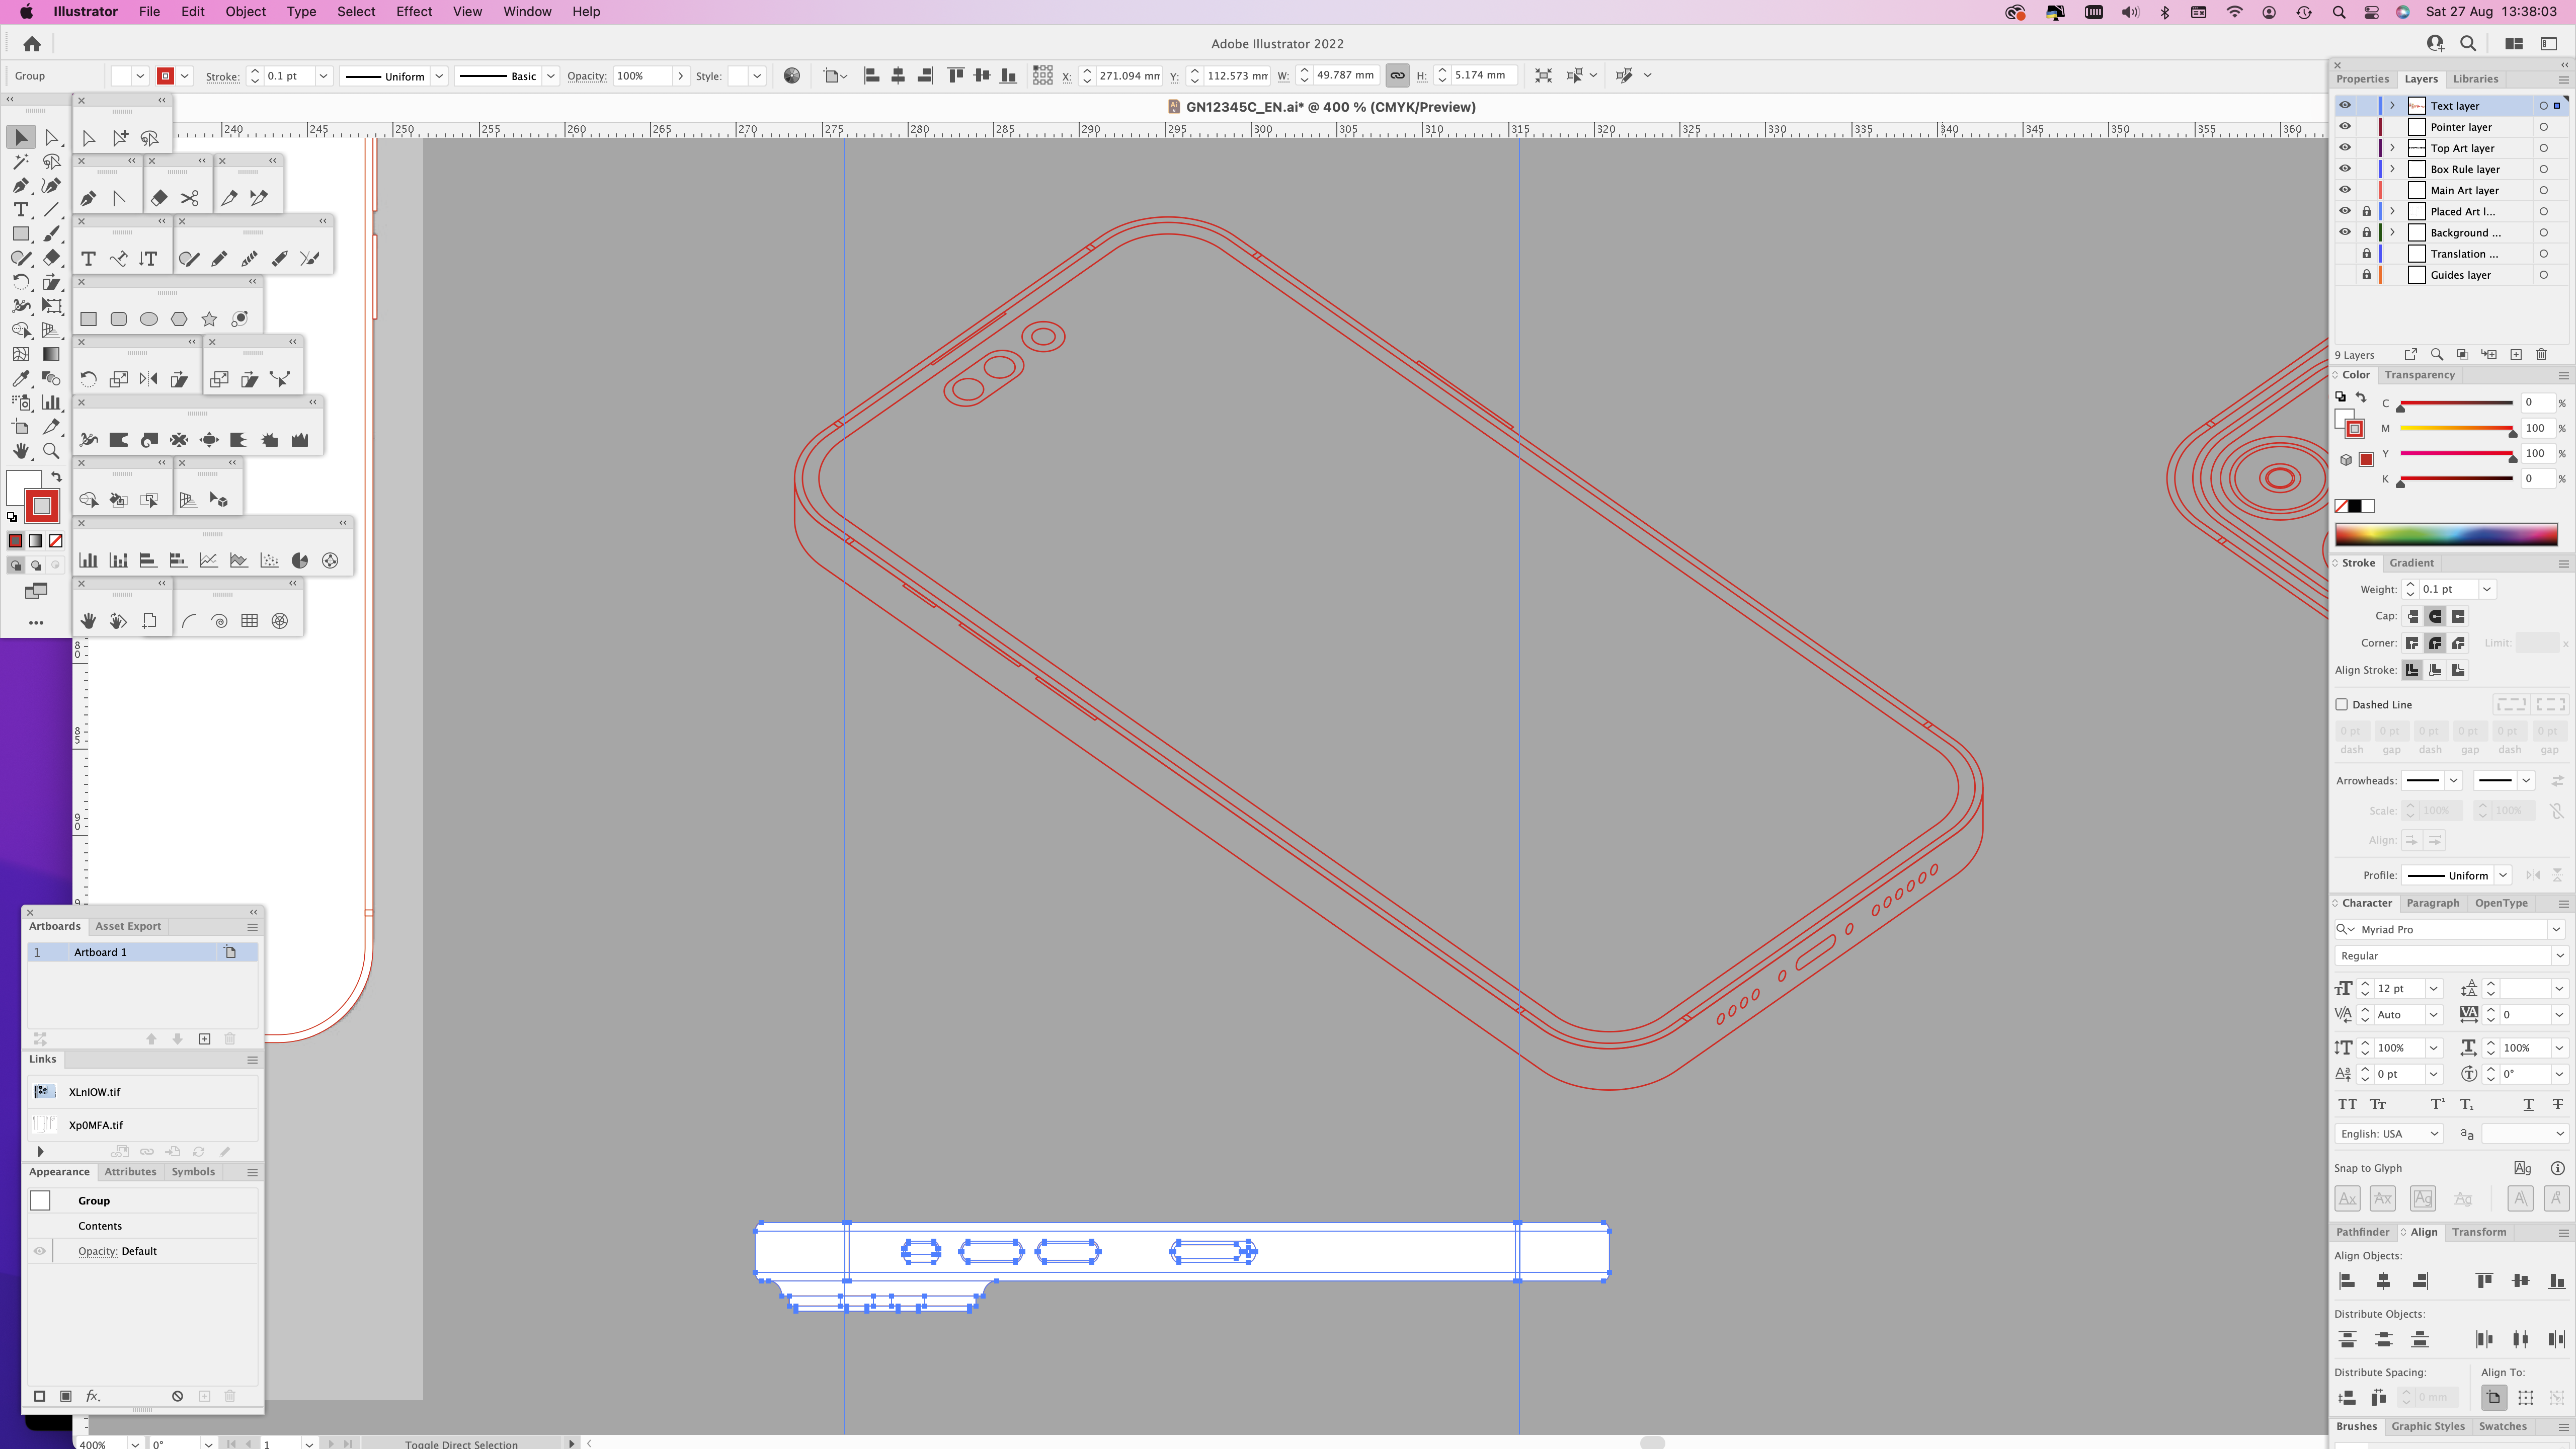
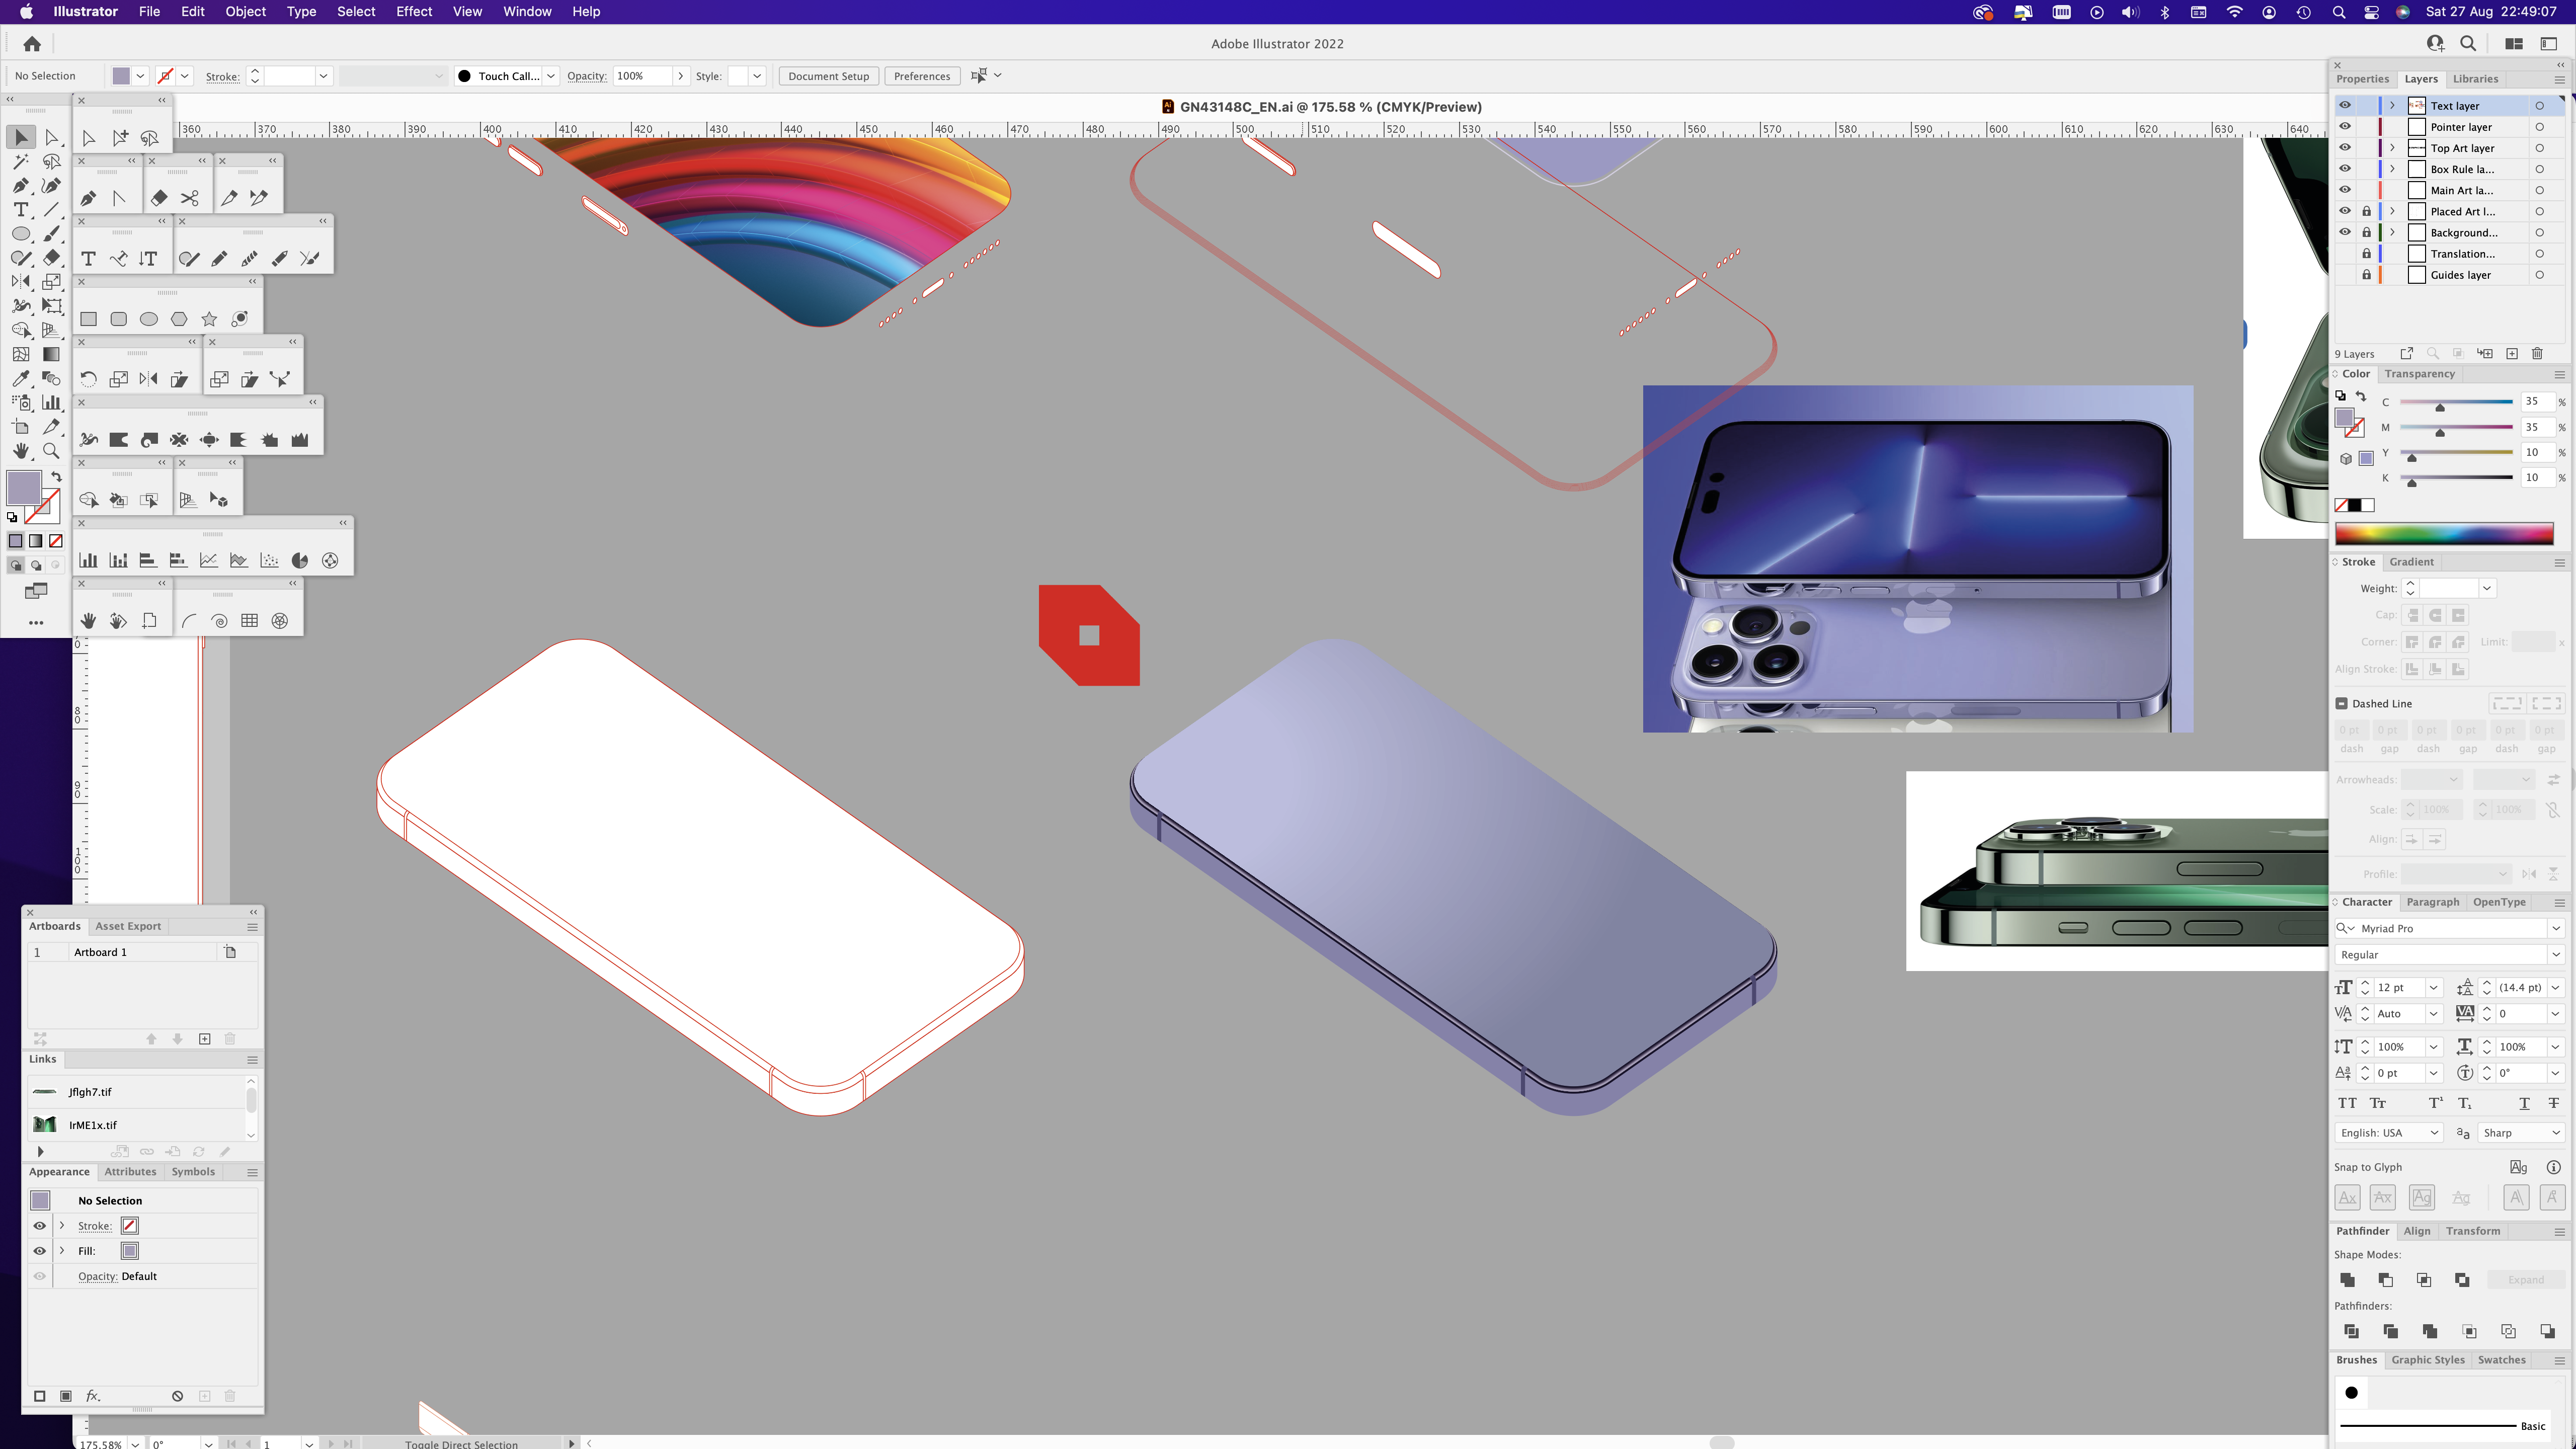
Step 2: Accurately trace the schematics – possibly the most important stage.
Everything alse depends on this being done right. |
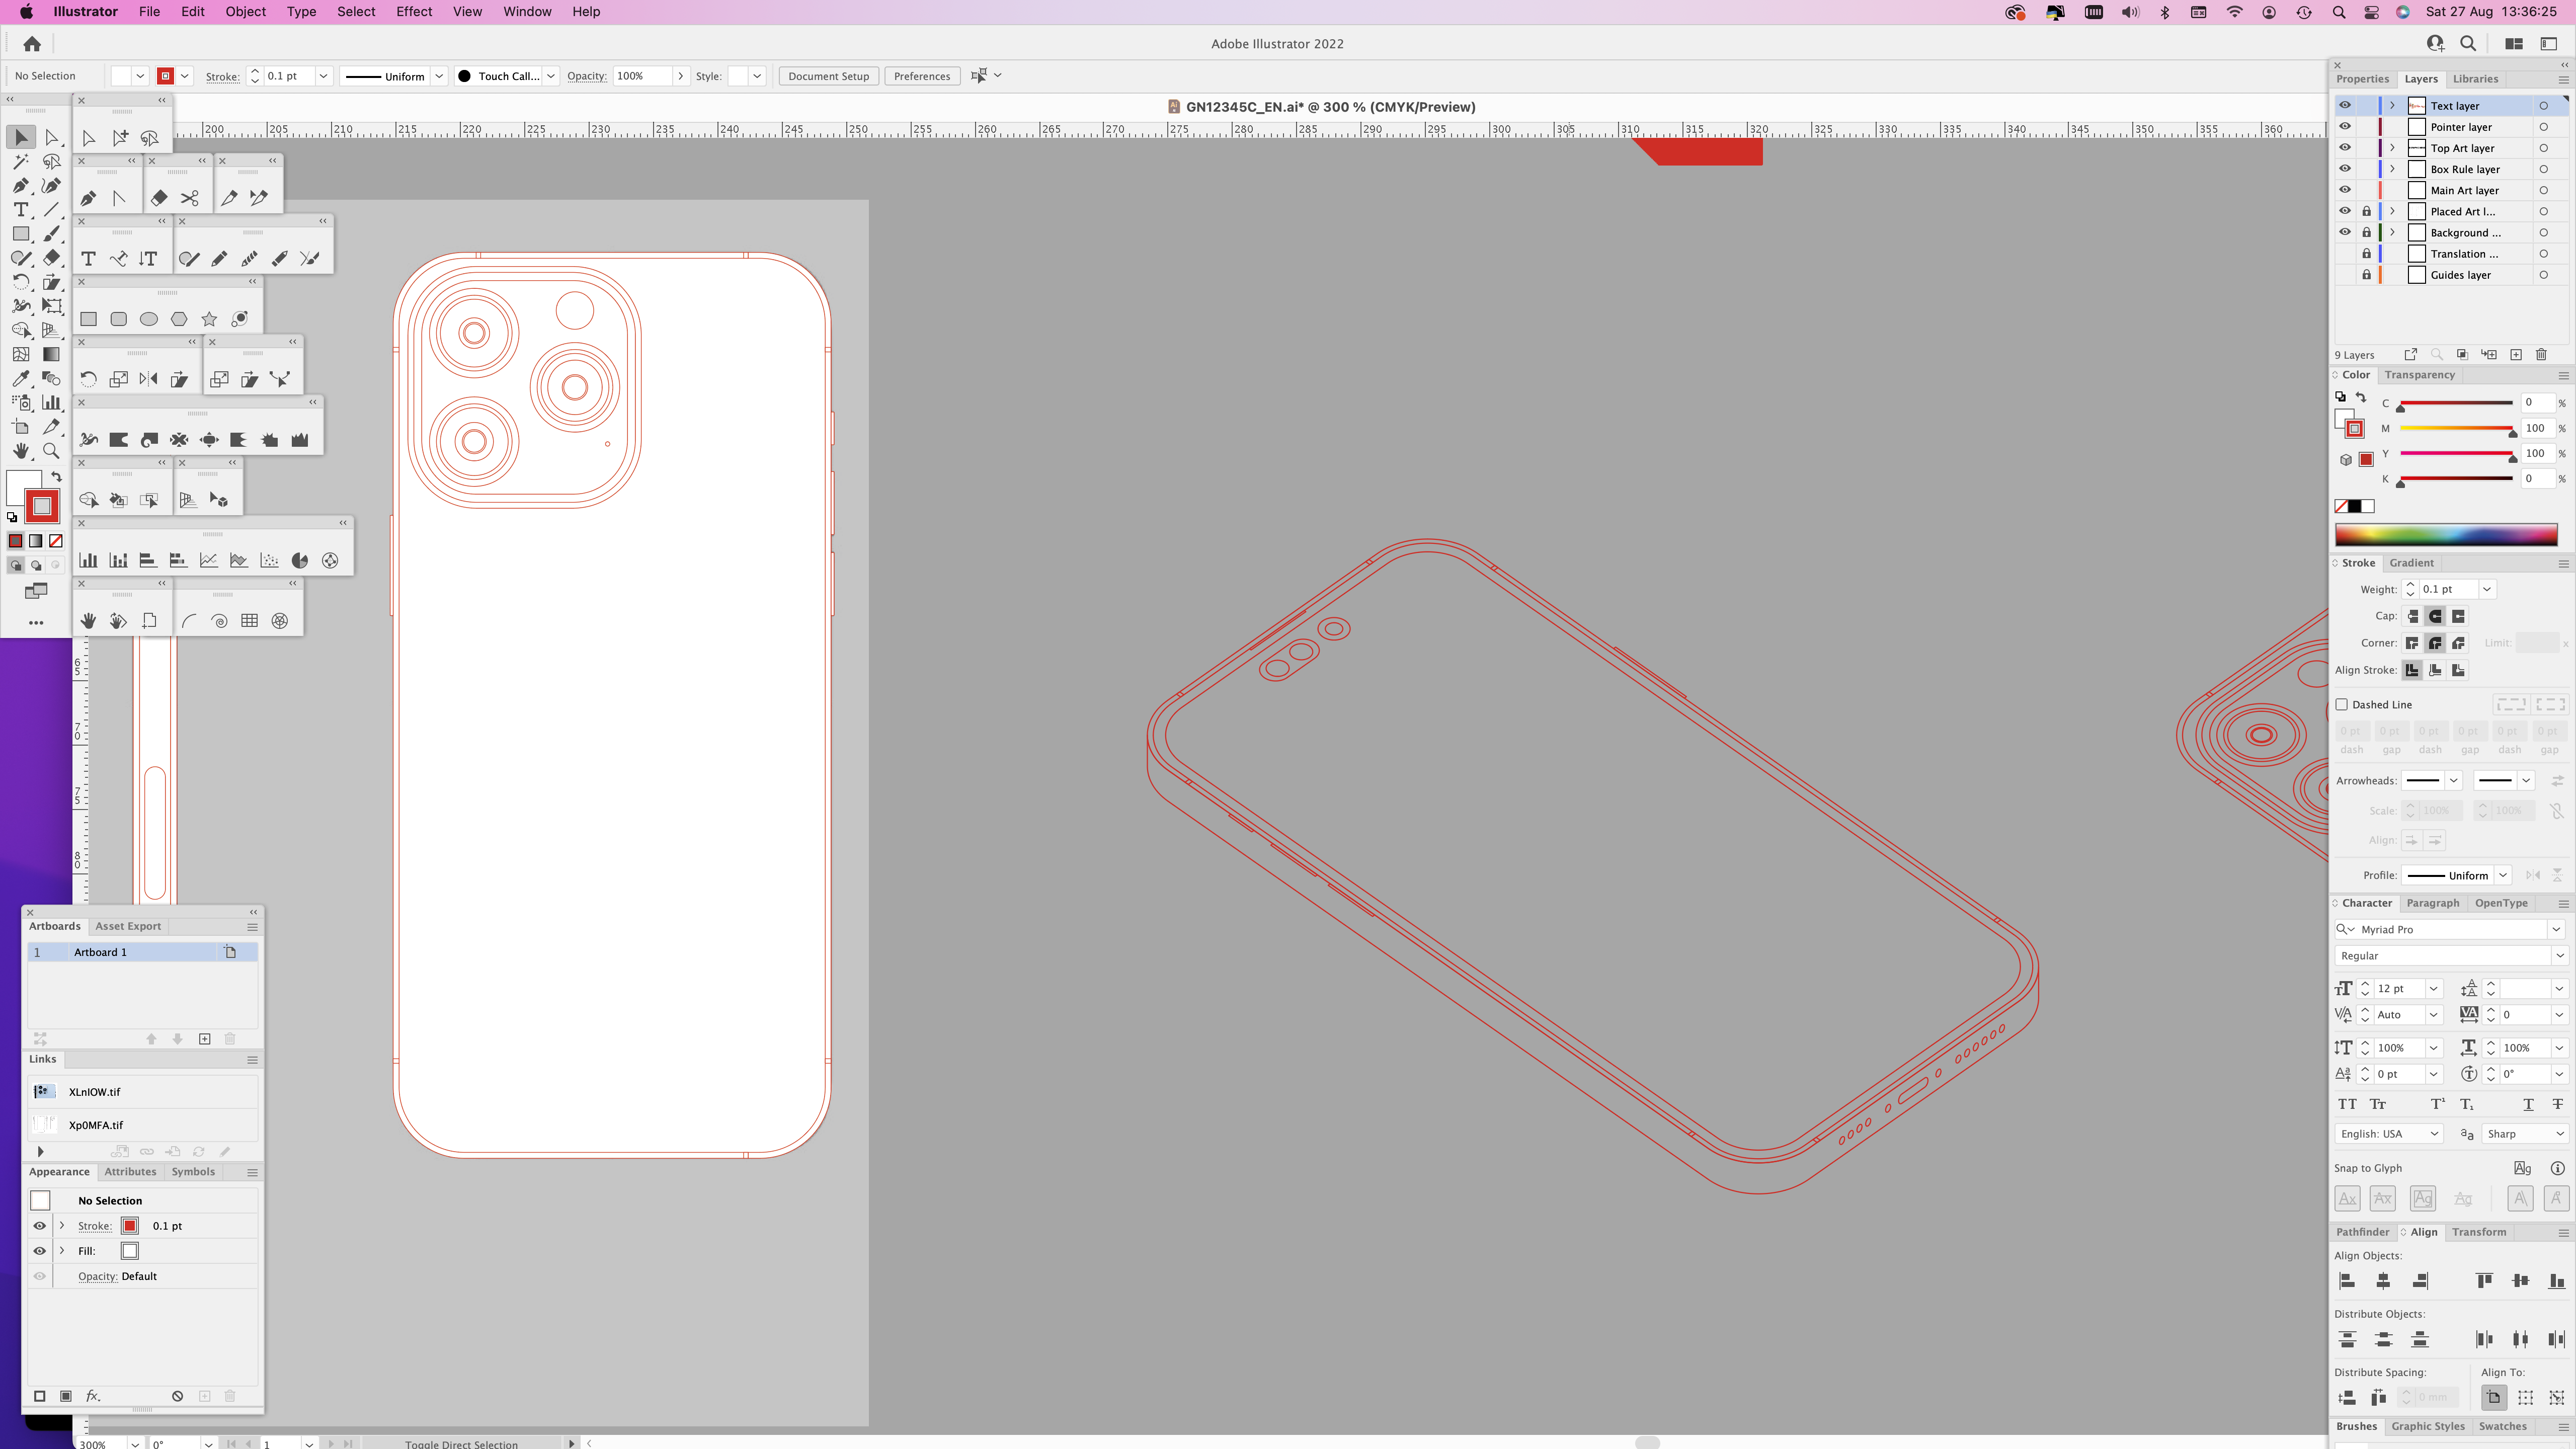 |
| Stage 3: Turn the flat illustrations into 3D drawings. To do this, I rotate the flat art 45°, then vertically squeeze it by 70%. This produces an angle I like – not true isometric, but instead a view that shows more of the top surface. I then extrude downwards to create the depth. |
 |
| Here I'm preparing the side view to be skewed into place. |
 |
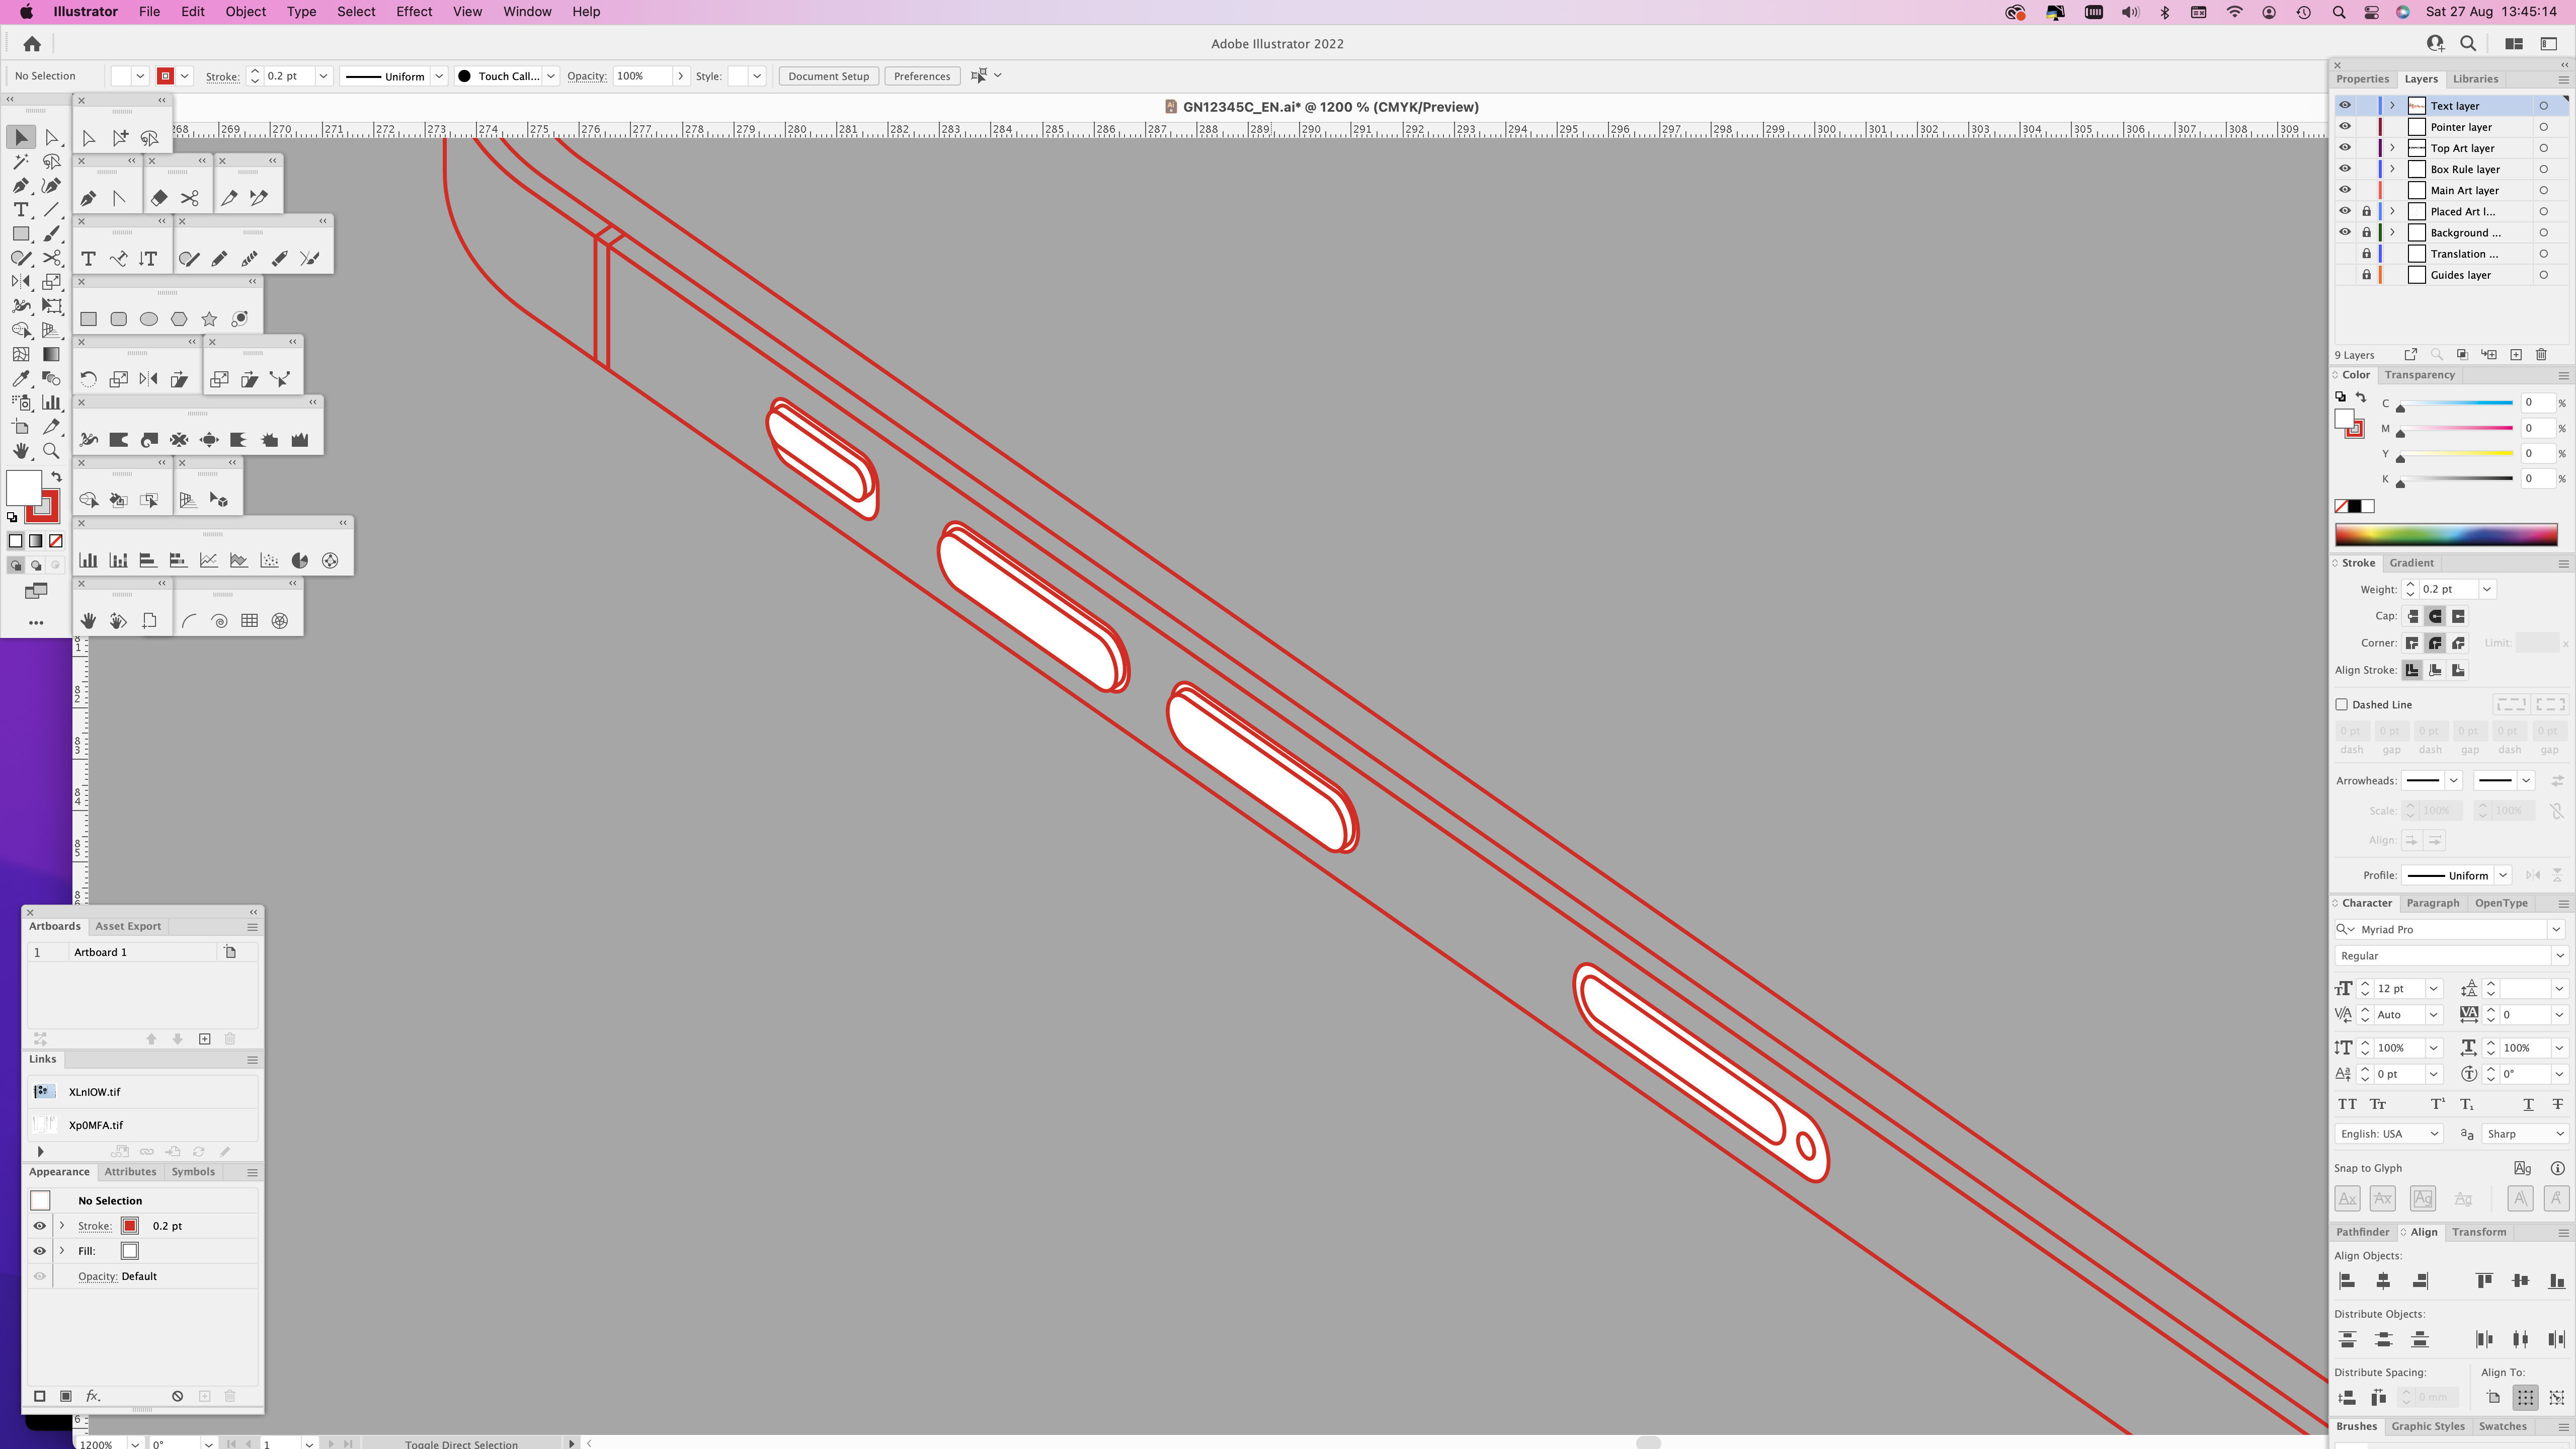
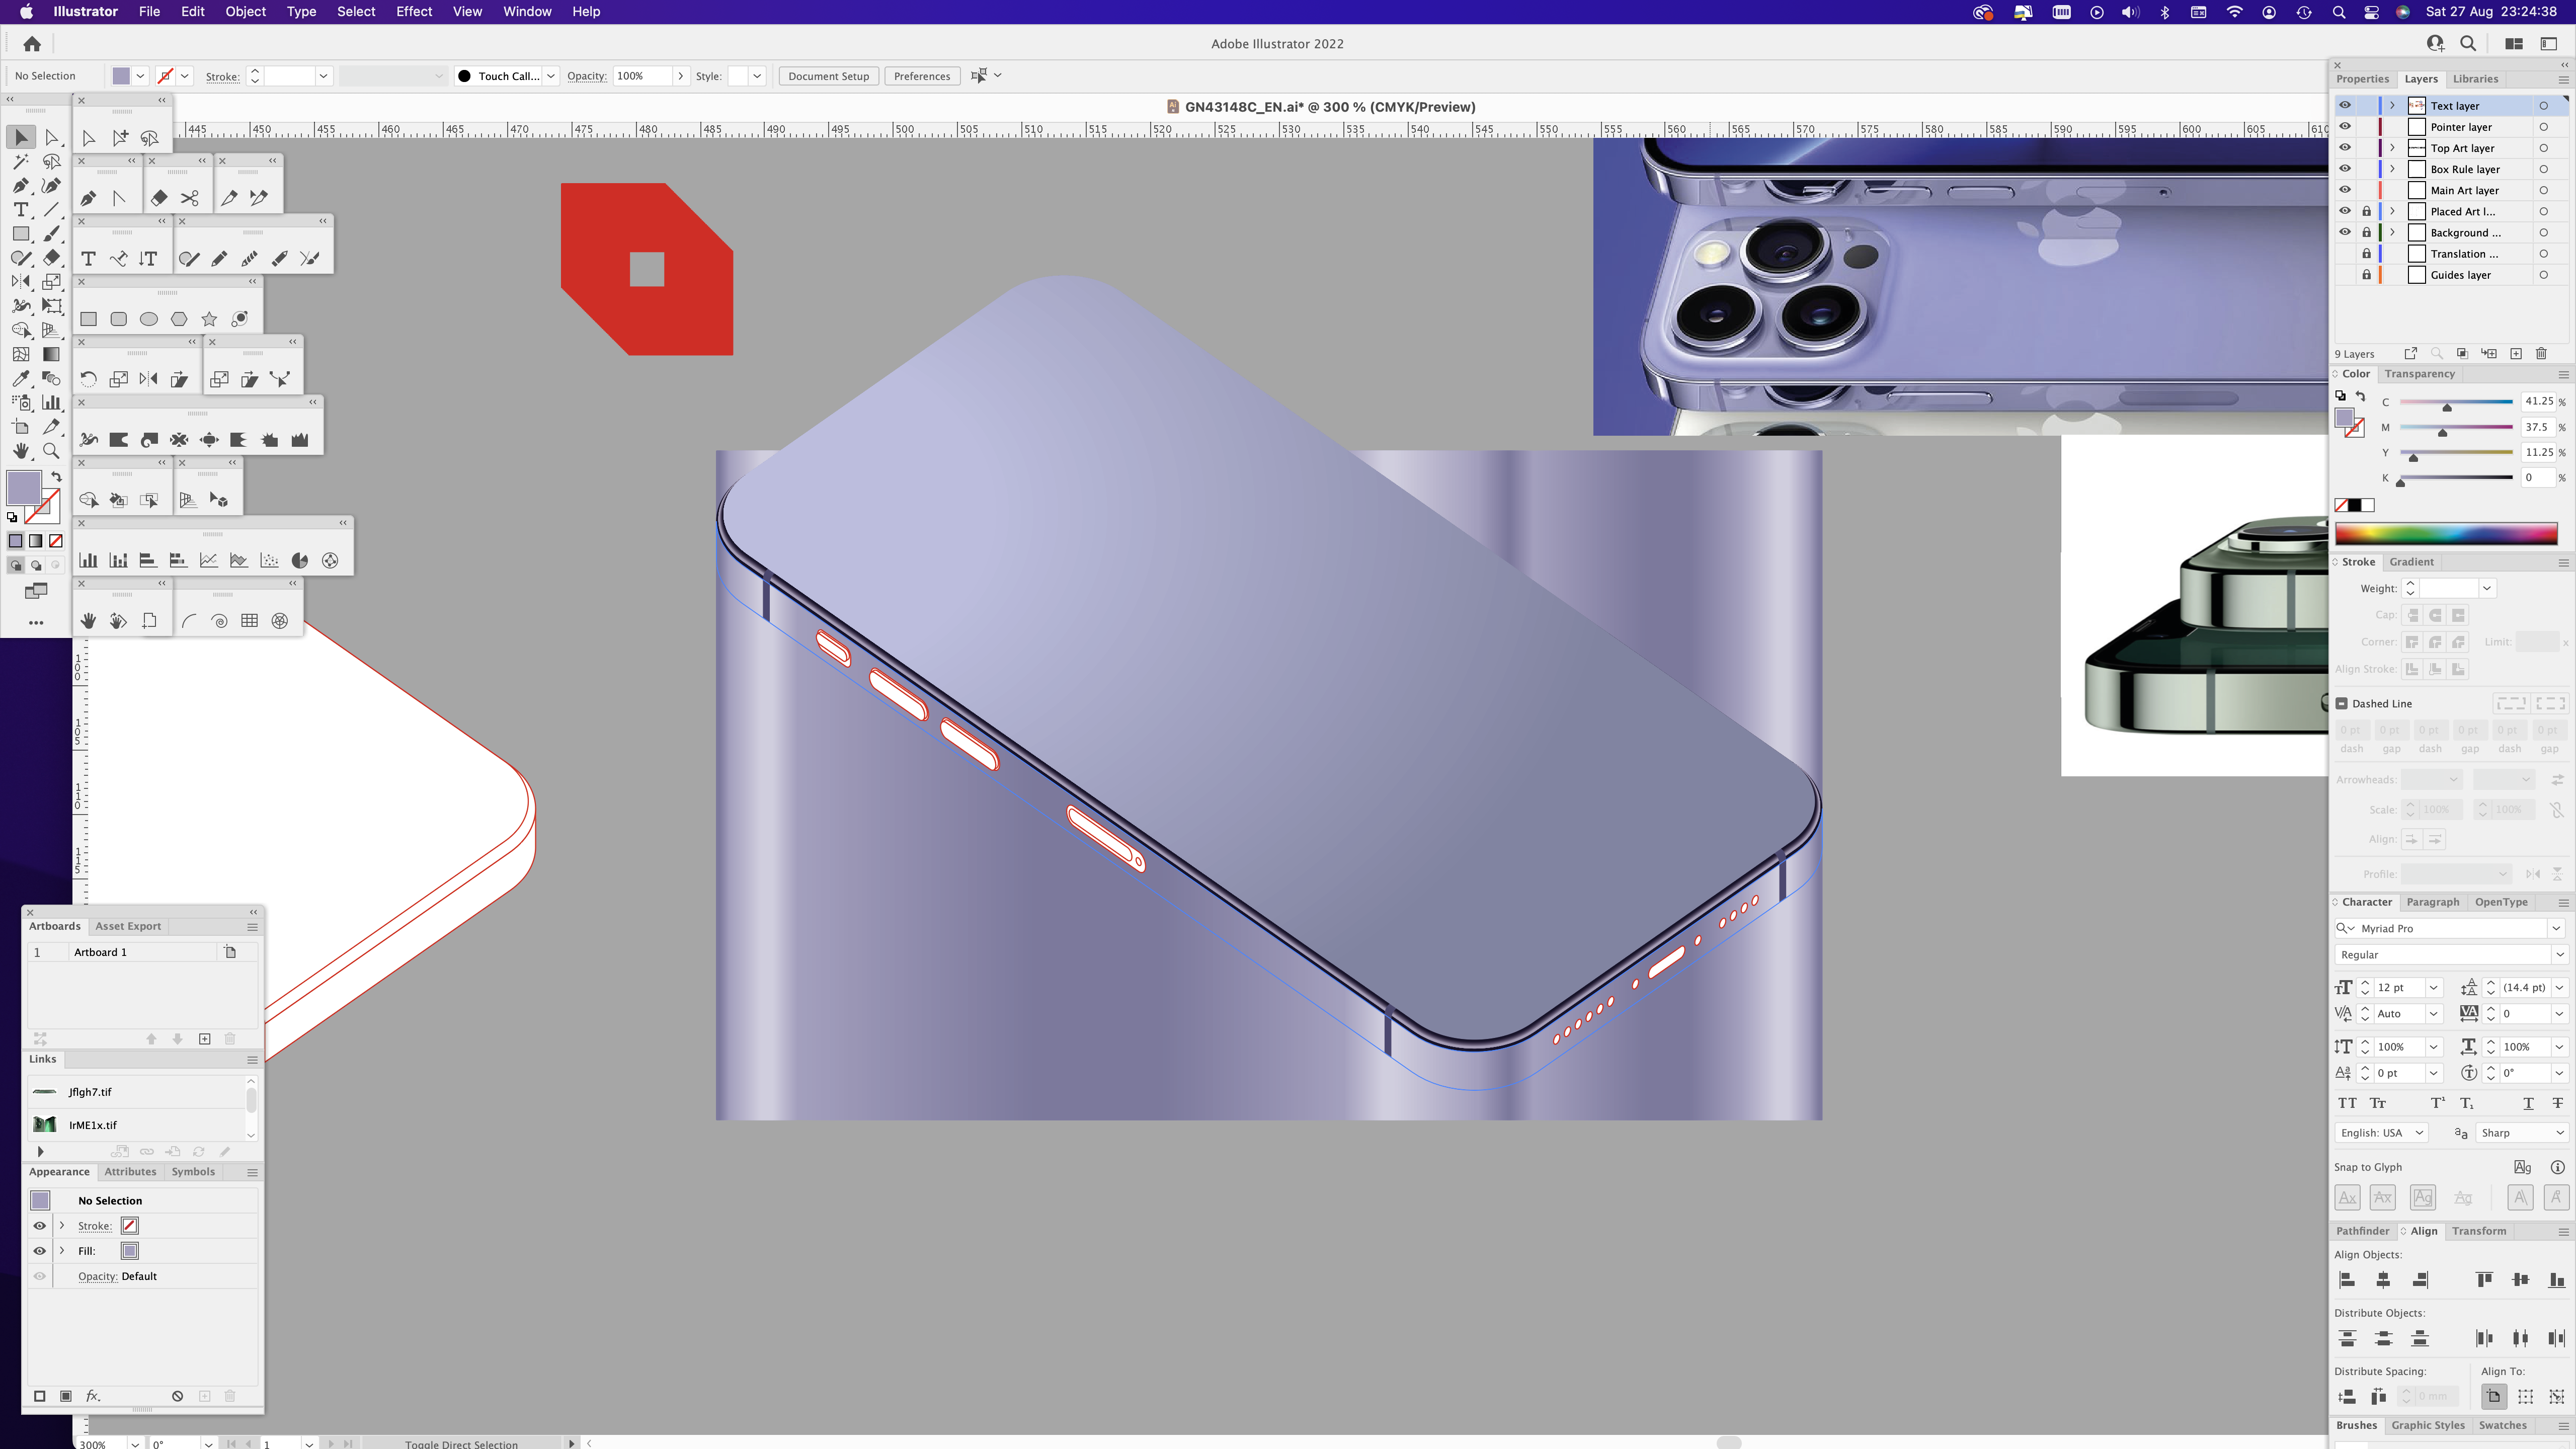
| Once it’s been skewed, I can accurately position the side buttons. |
 |
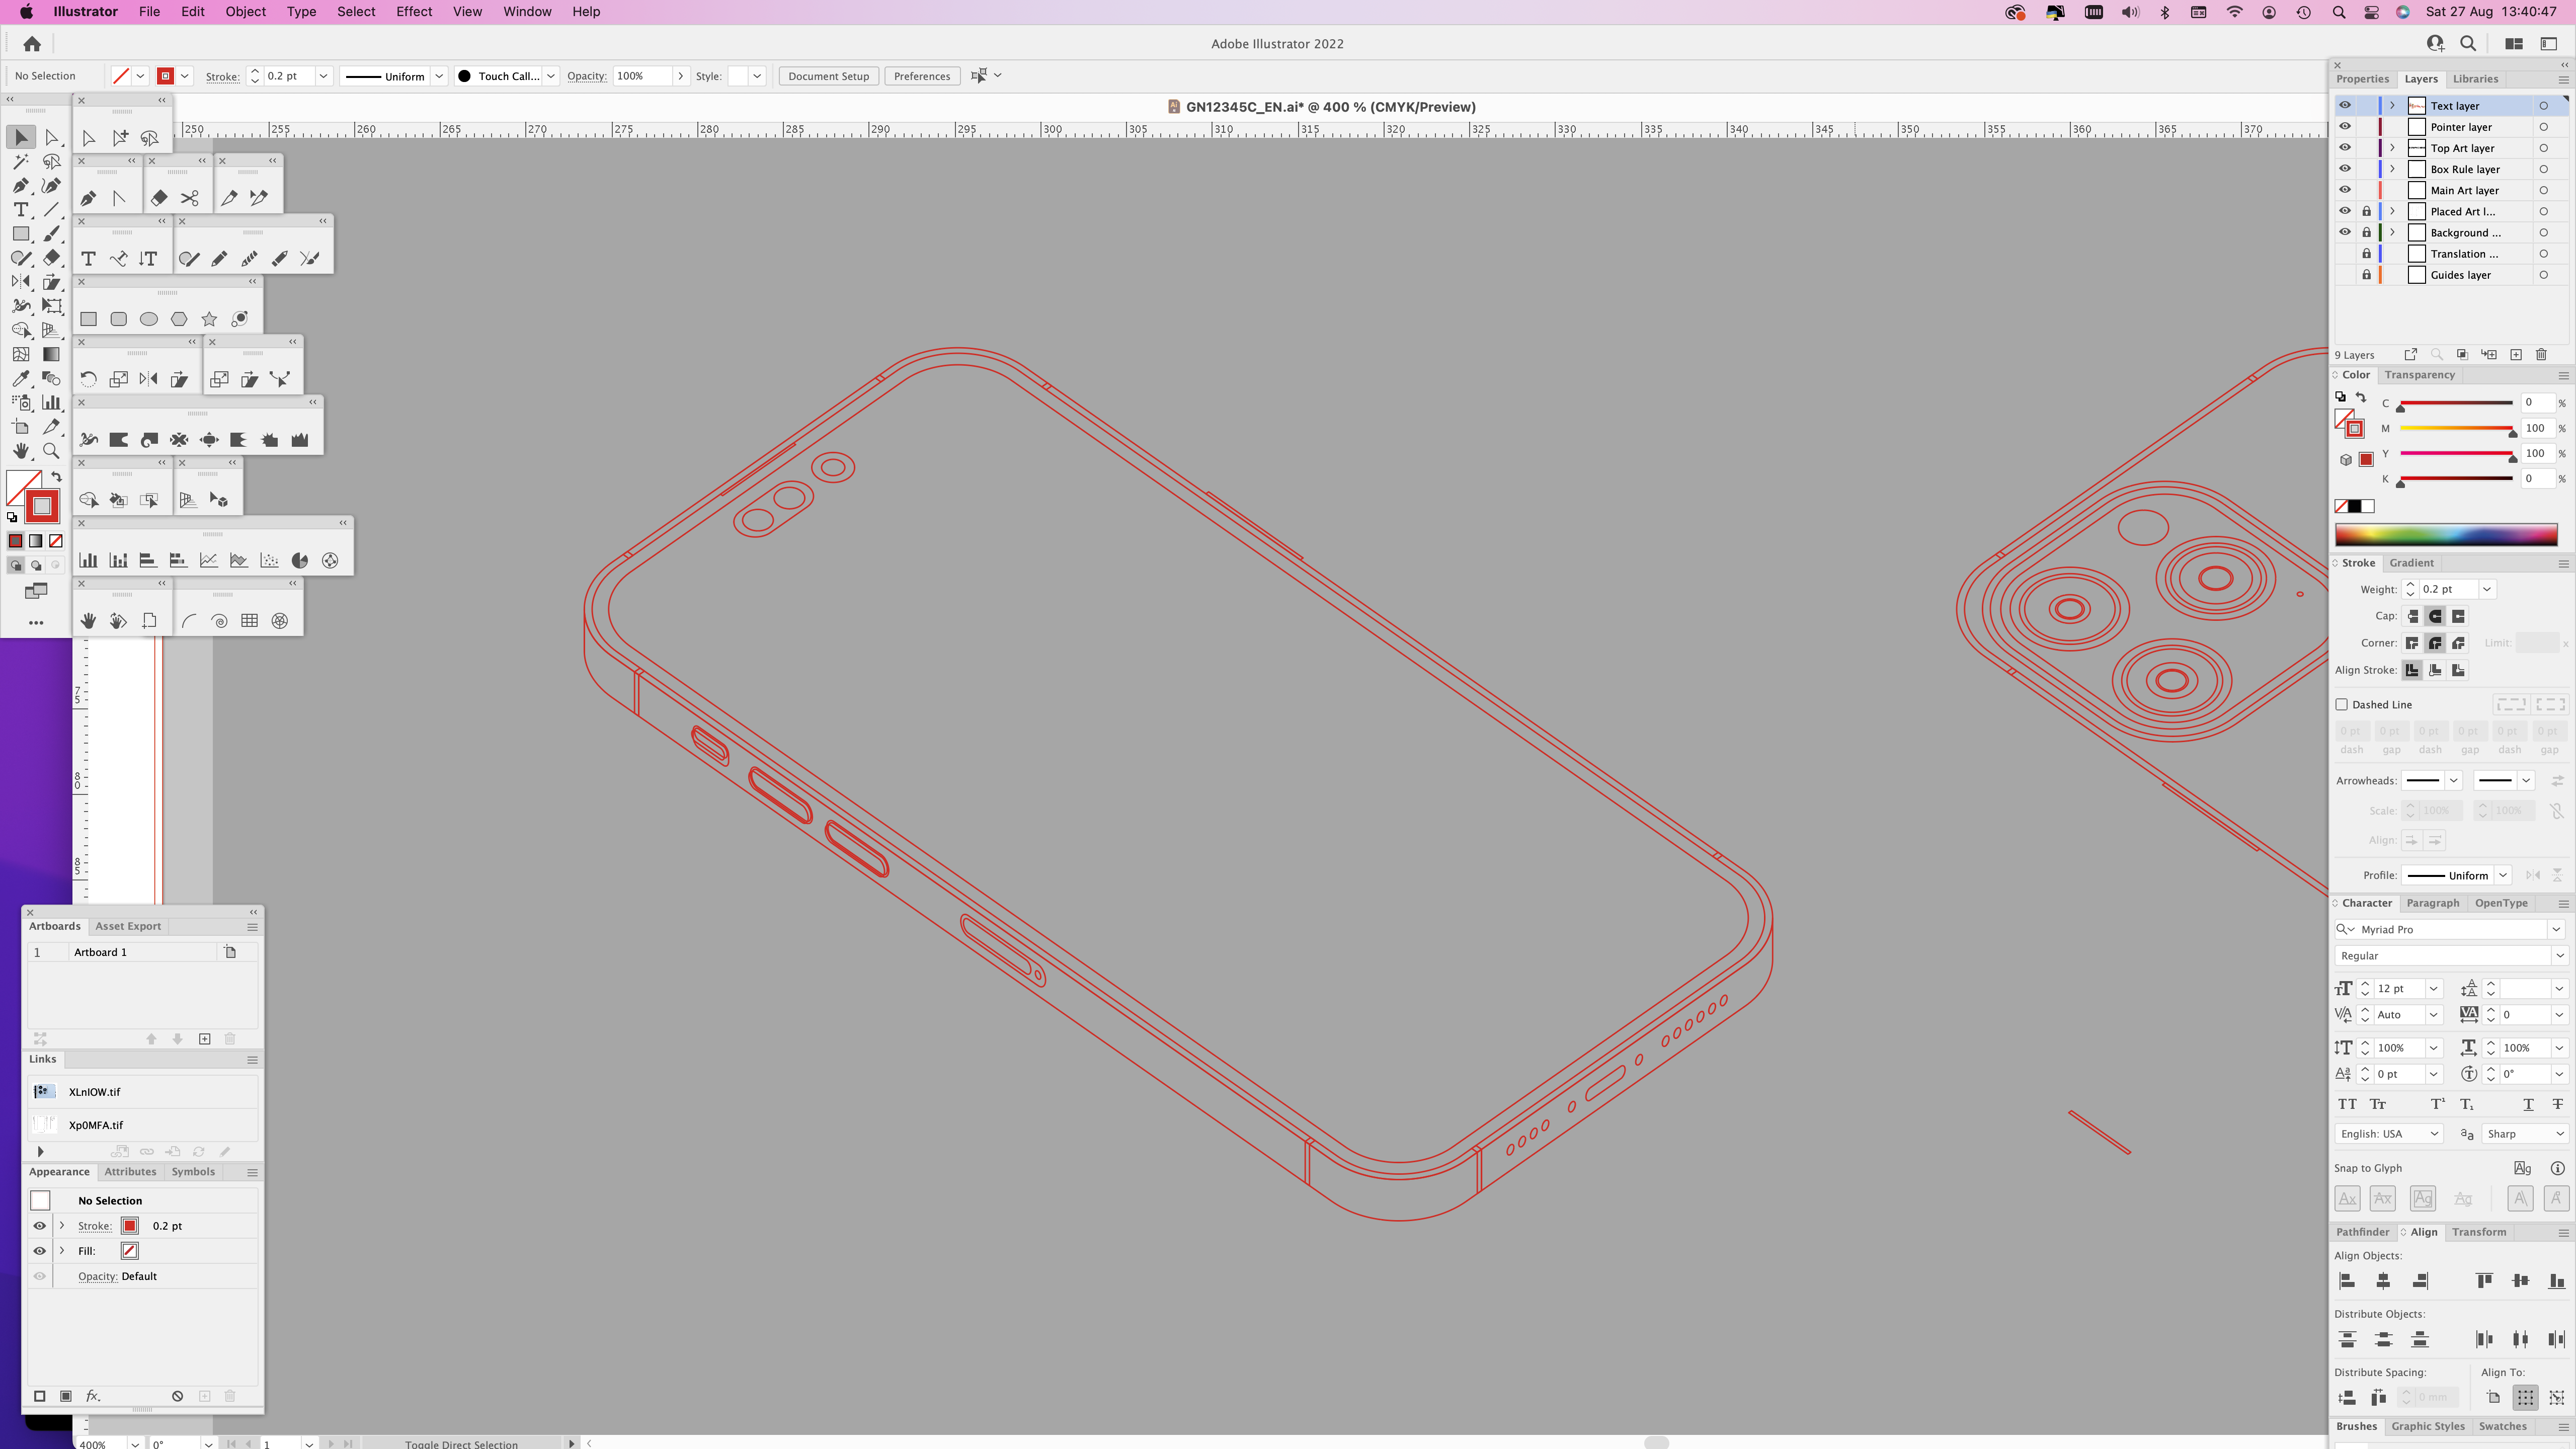
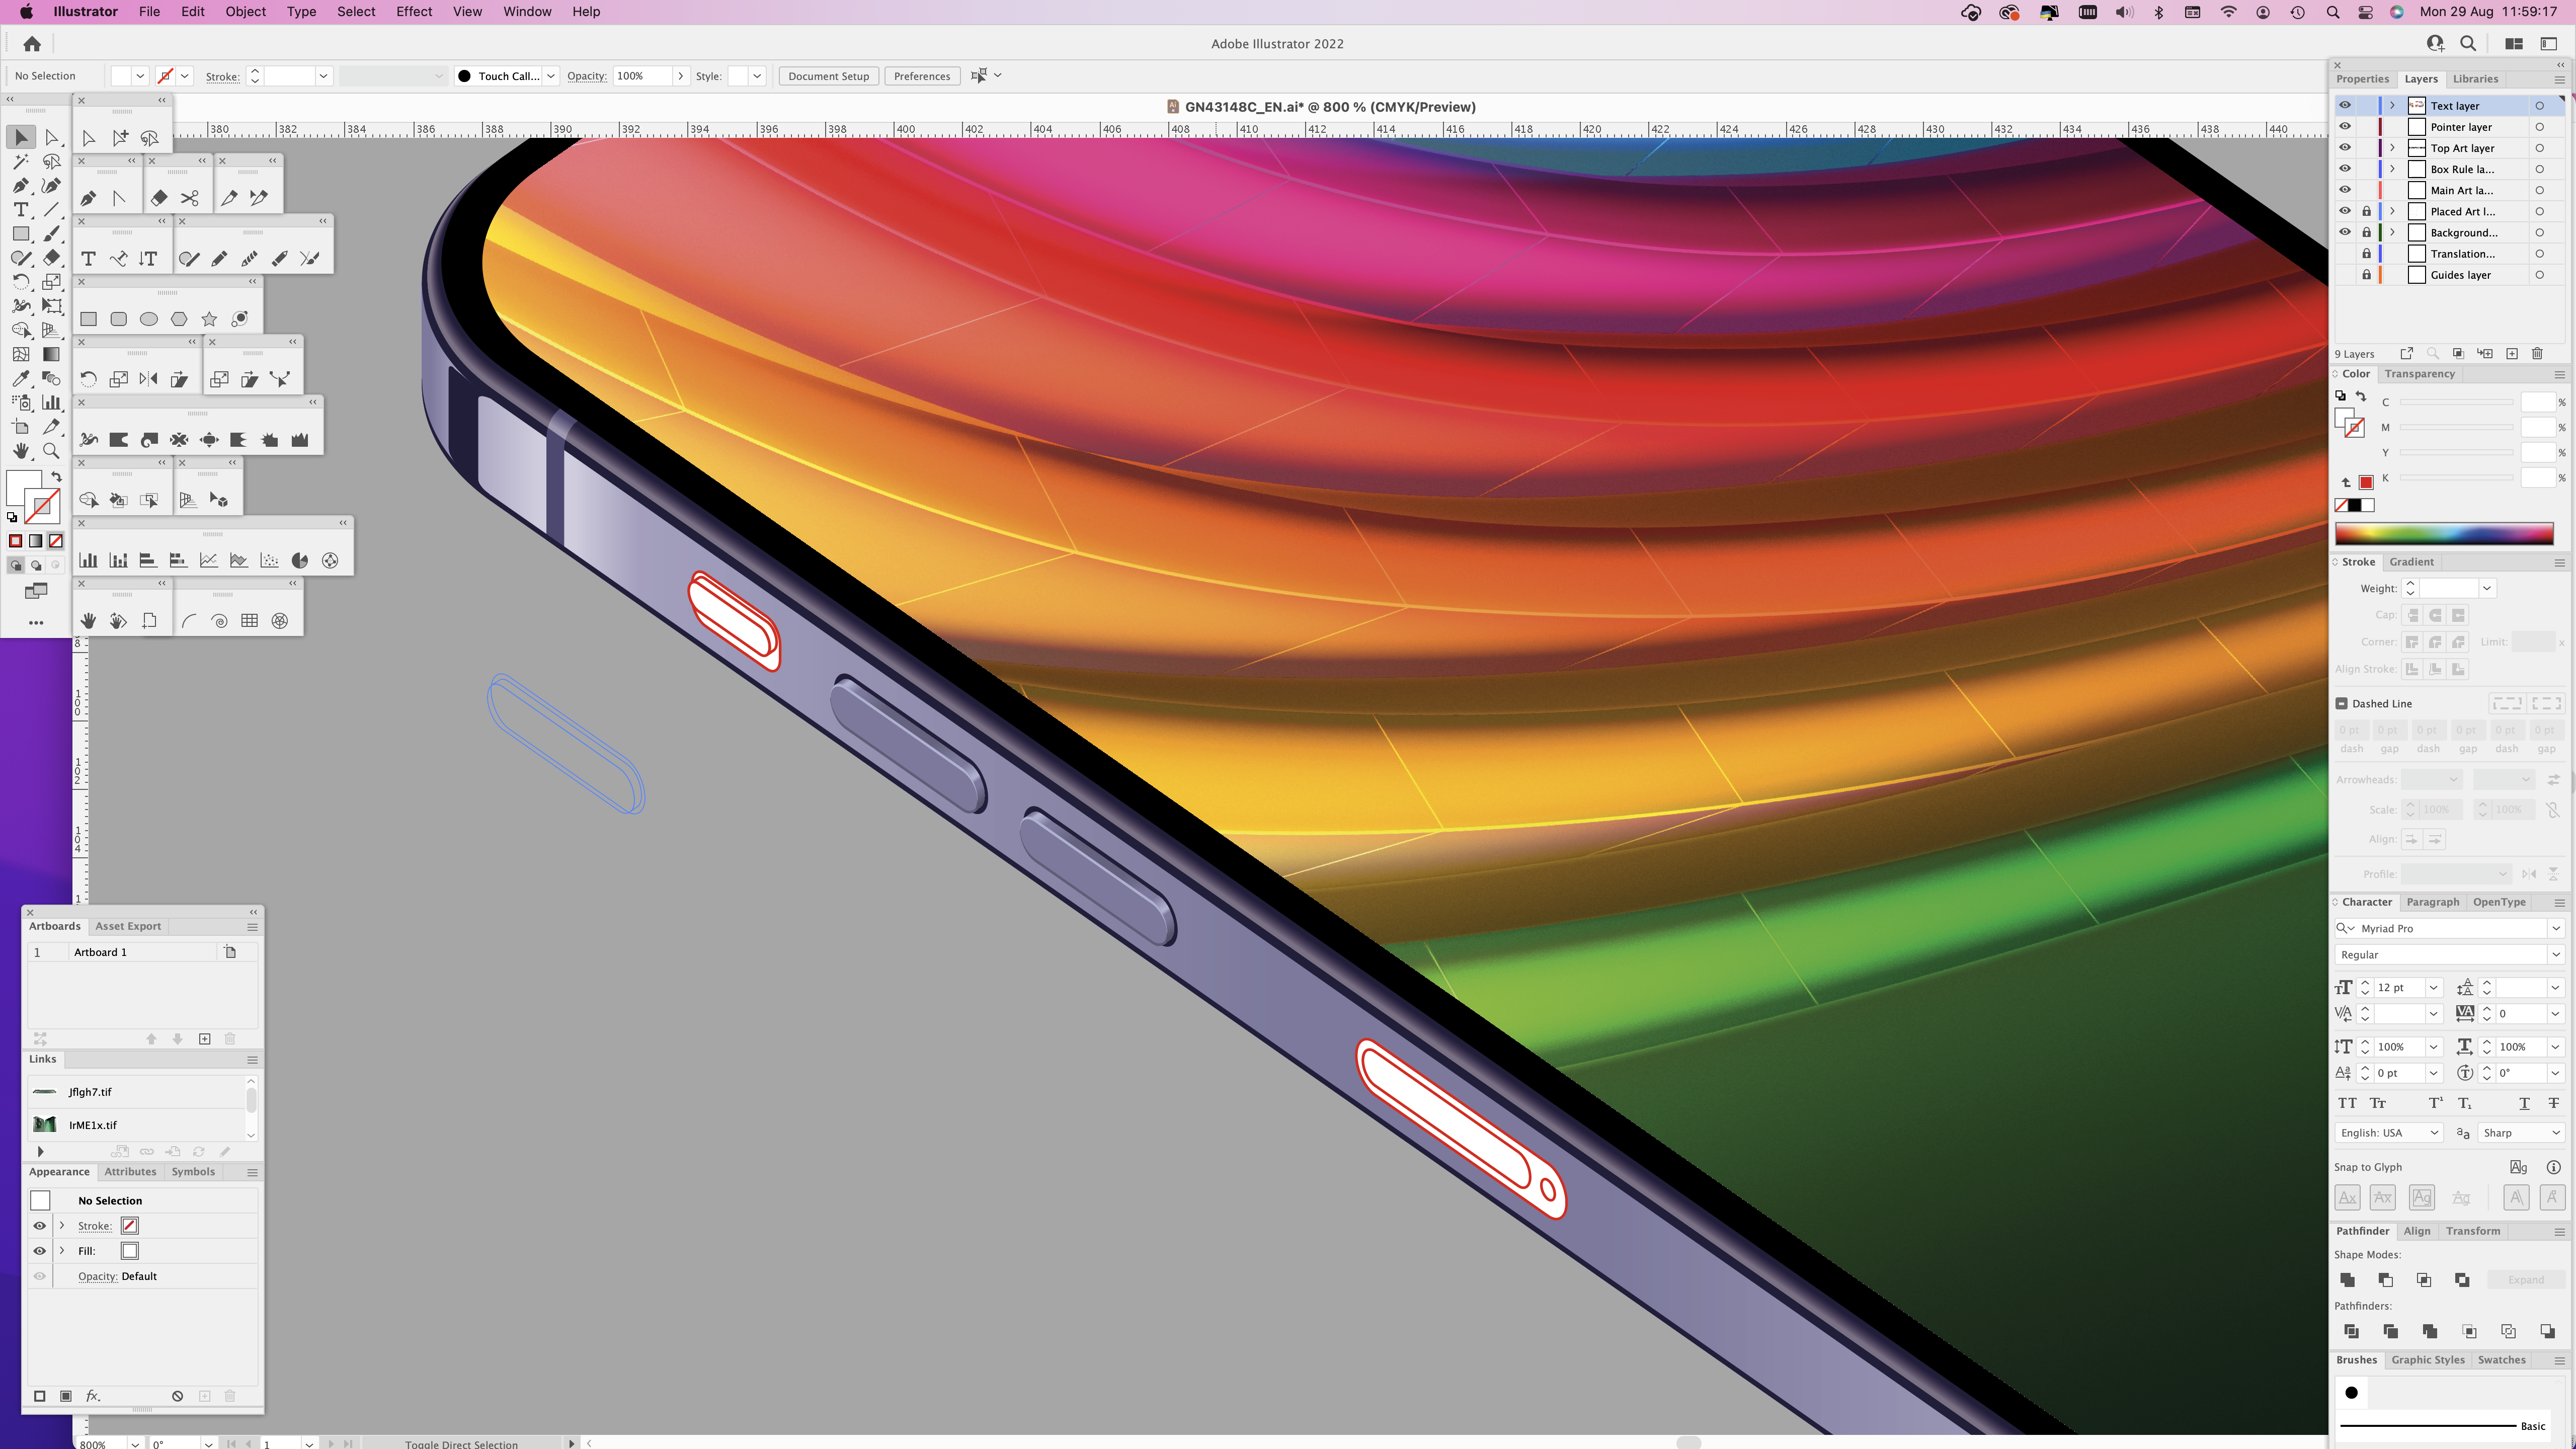
| Side buttons are extruded outwards. All these distances and depths of extrusion are done in accordance with the original flat traces. Minimal guesswork is used. |
 |
| Front and back illustrations are starting to take shape. |
 |
| Time to add some colour – a new purple chassis is apparently in the offing this year. |
 |
| This thing is going to be shiny, so it needs a good metalic blend making. |
 |
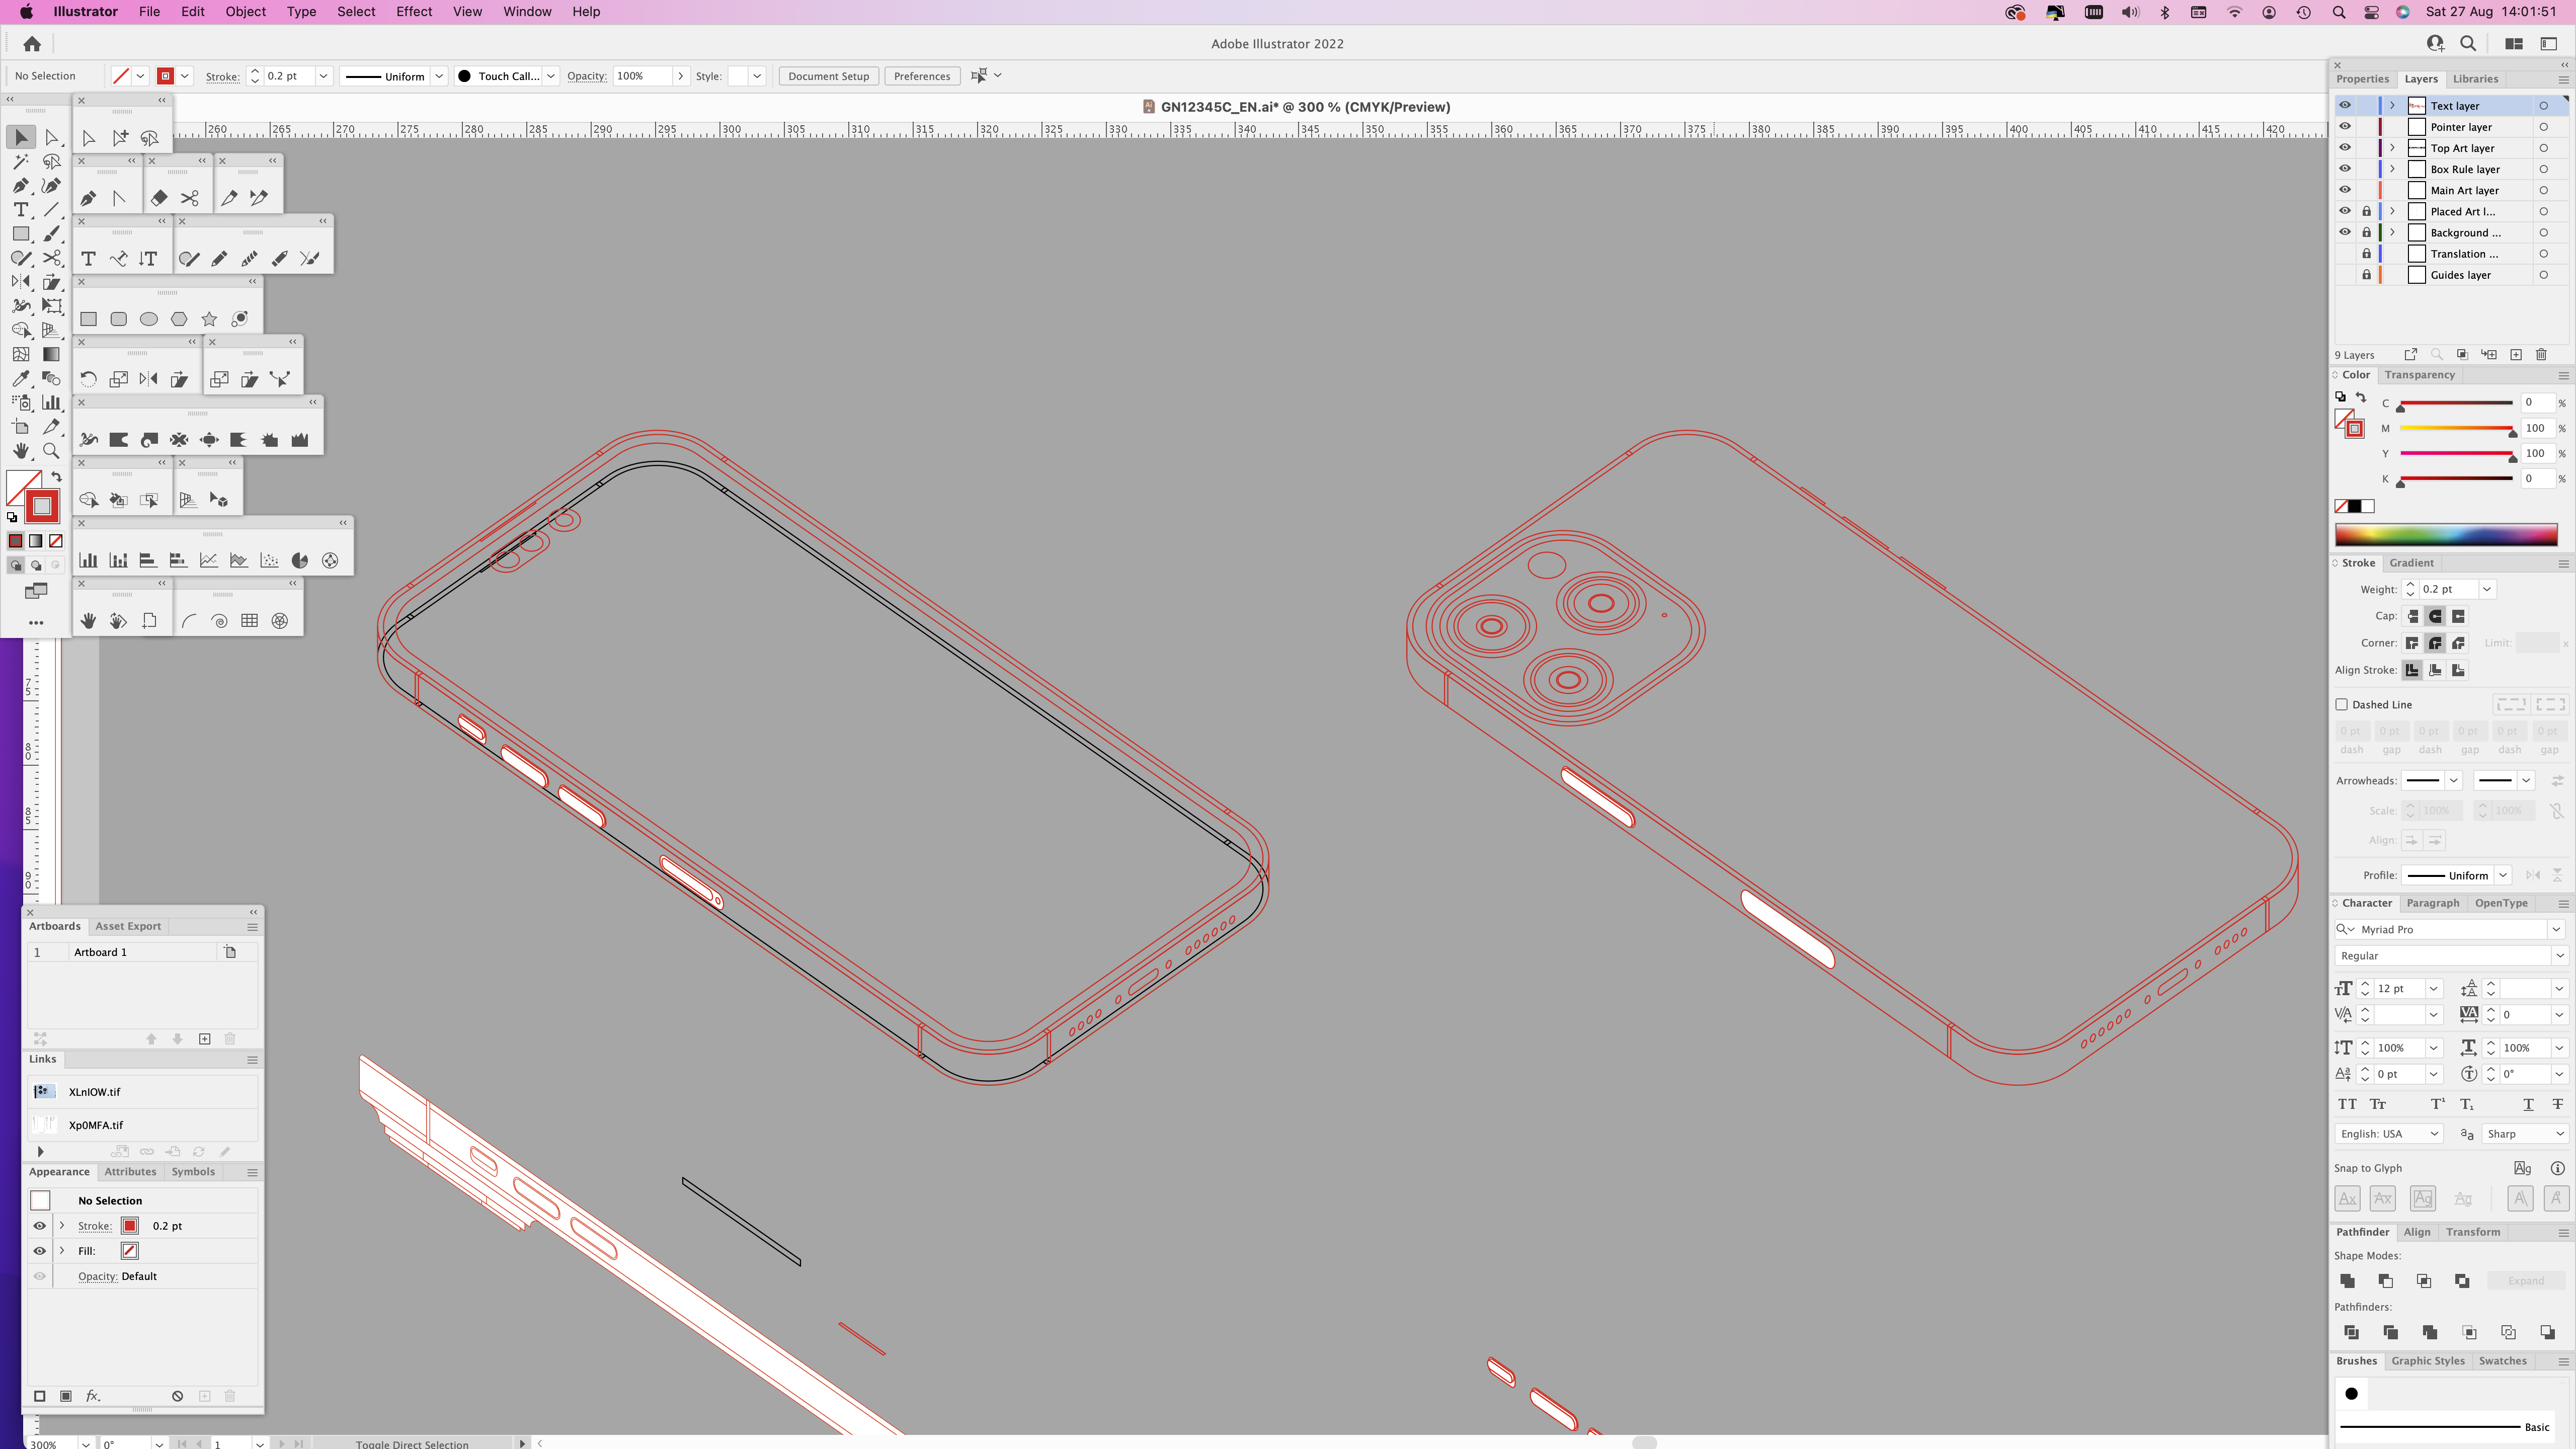
| Dummy screen image placed on, just to see how it looks. Work begins on extruding the camera bump and lenses upwards. |
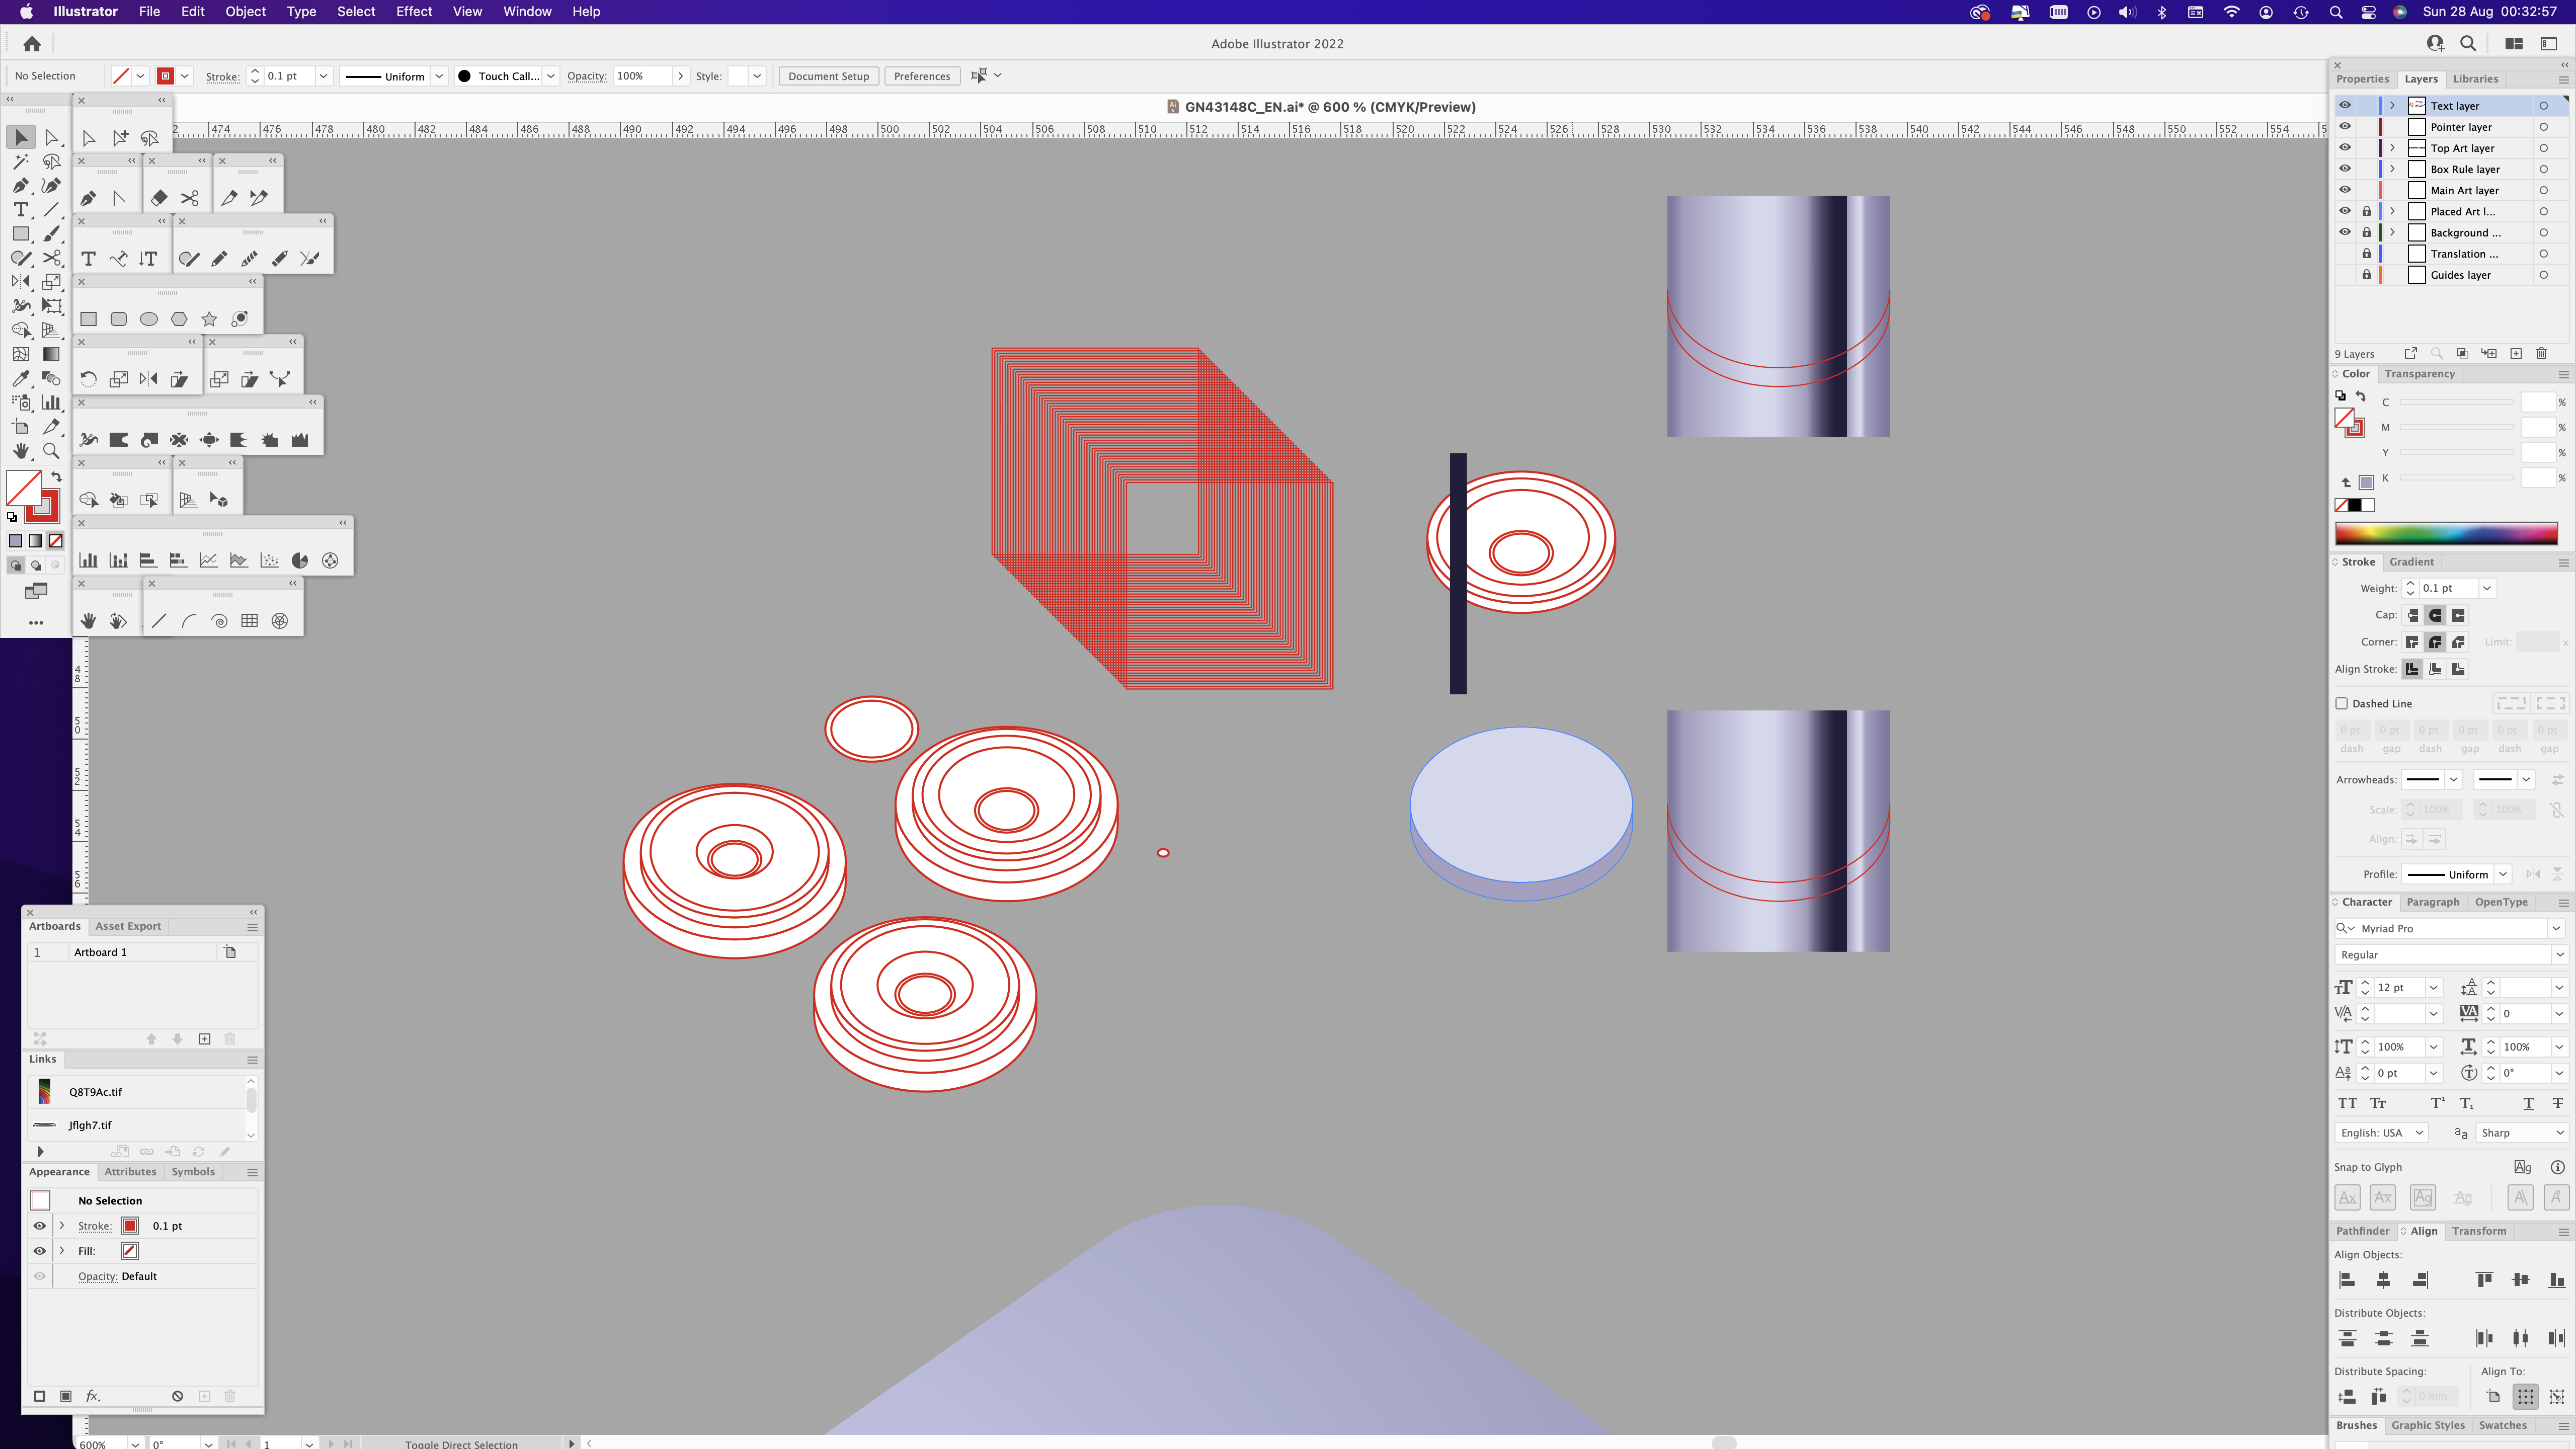 |
| Again, shiny blending is in order for the sides of the lenses. |
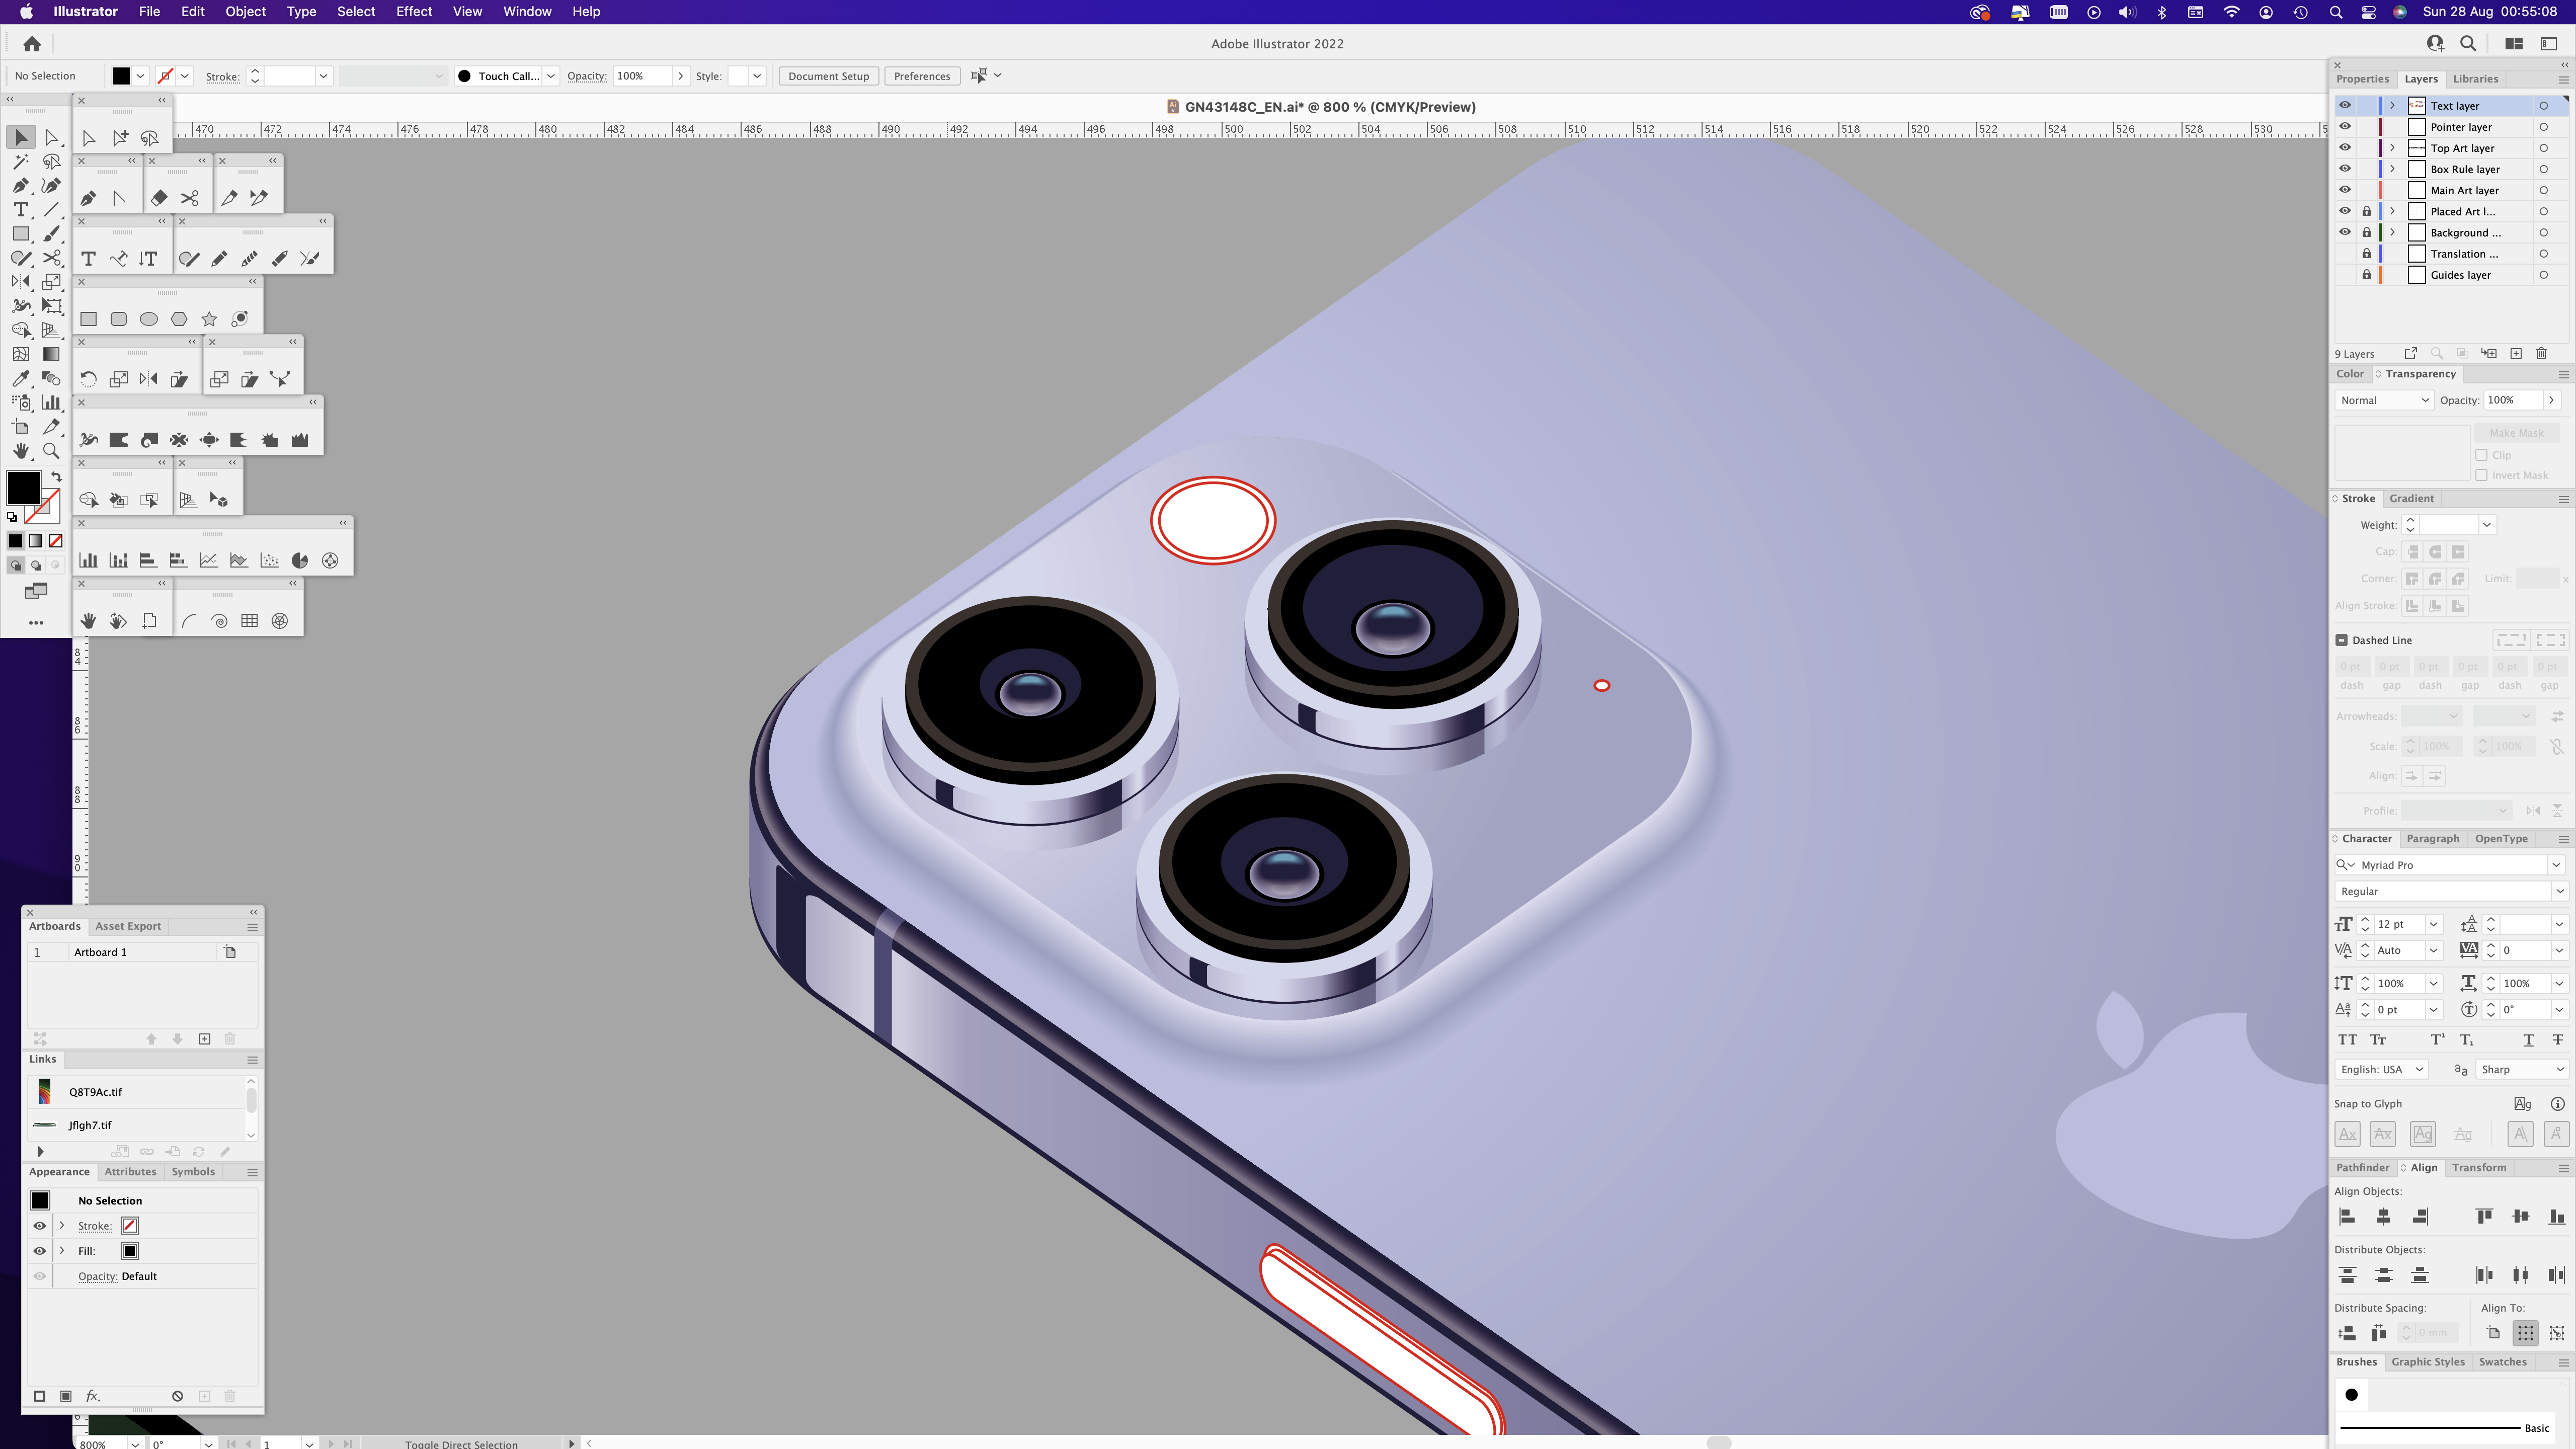 |
| Camera system almost complete, with added lens reflections. |
 |
| Time to blend the side buttons too, even though they are small, the effect will add to the believablity. |
 |
| Finishing up the side buttons on the other drawing now. |
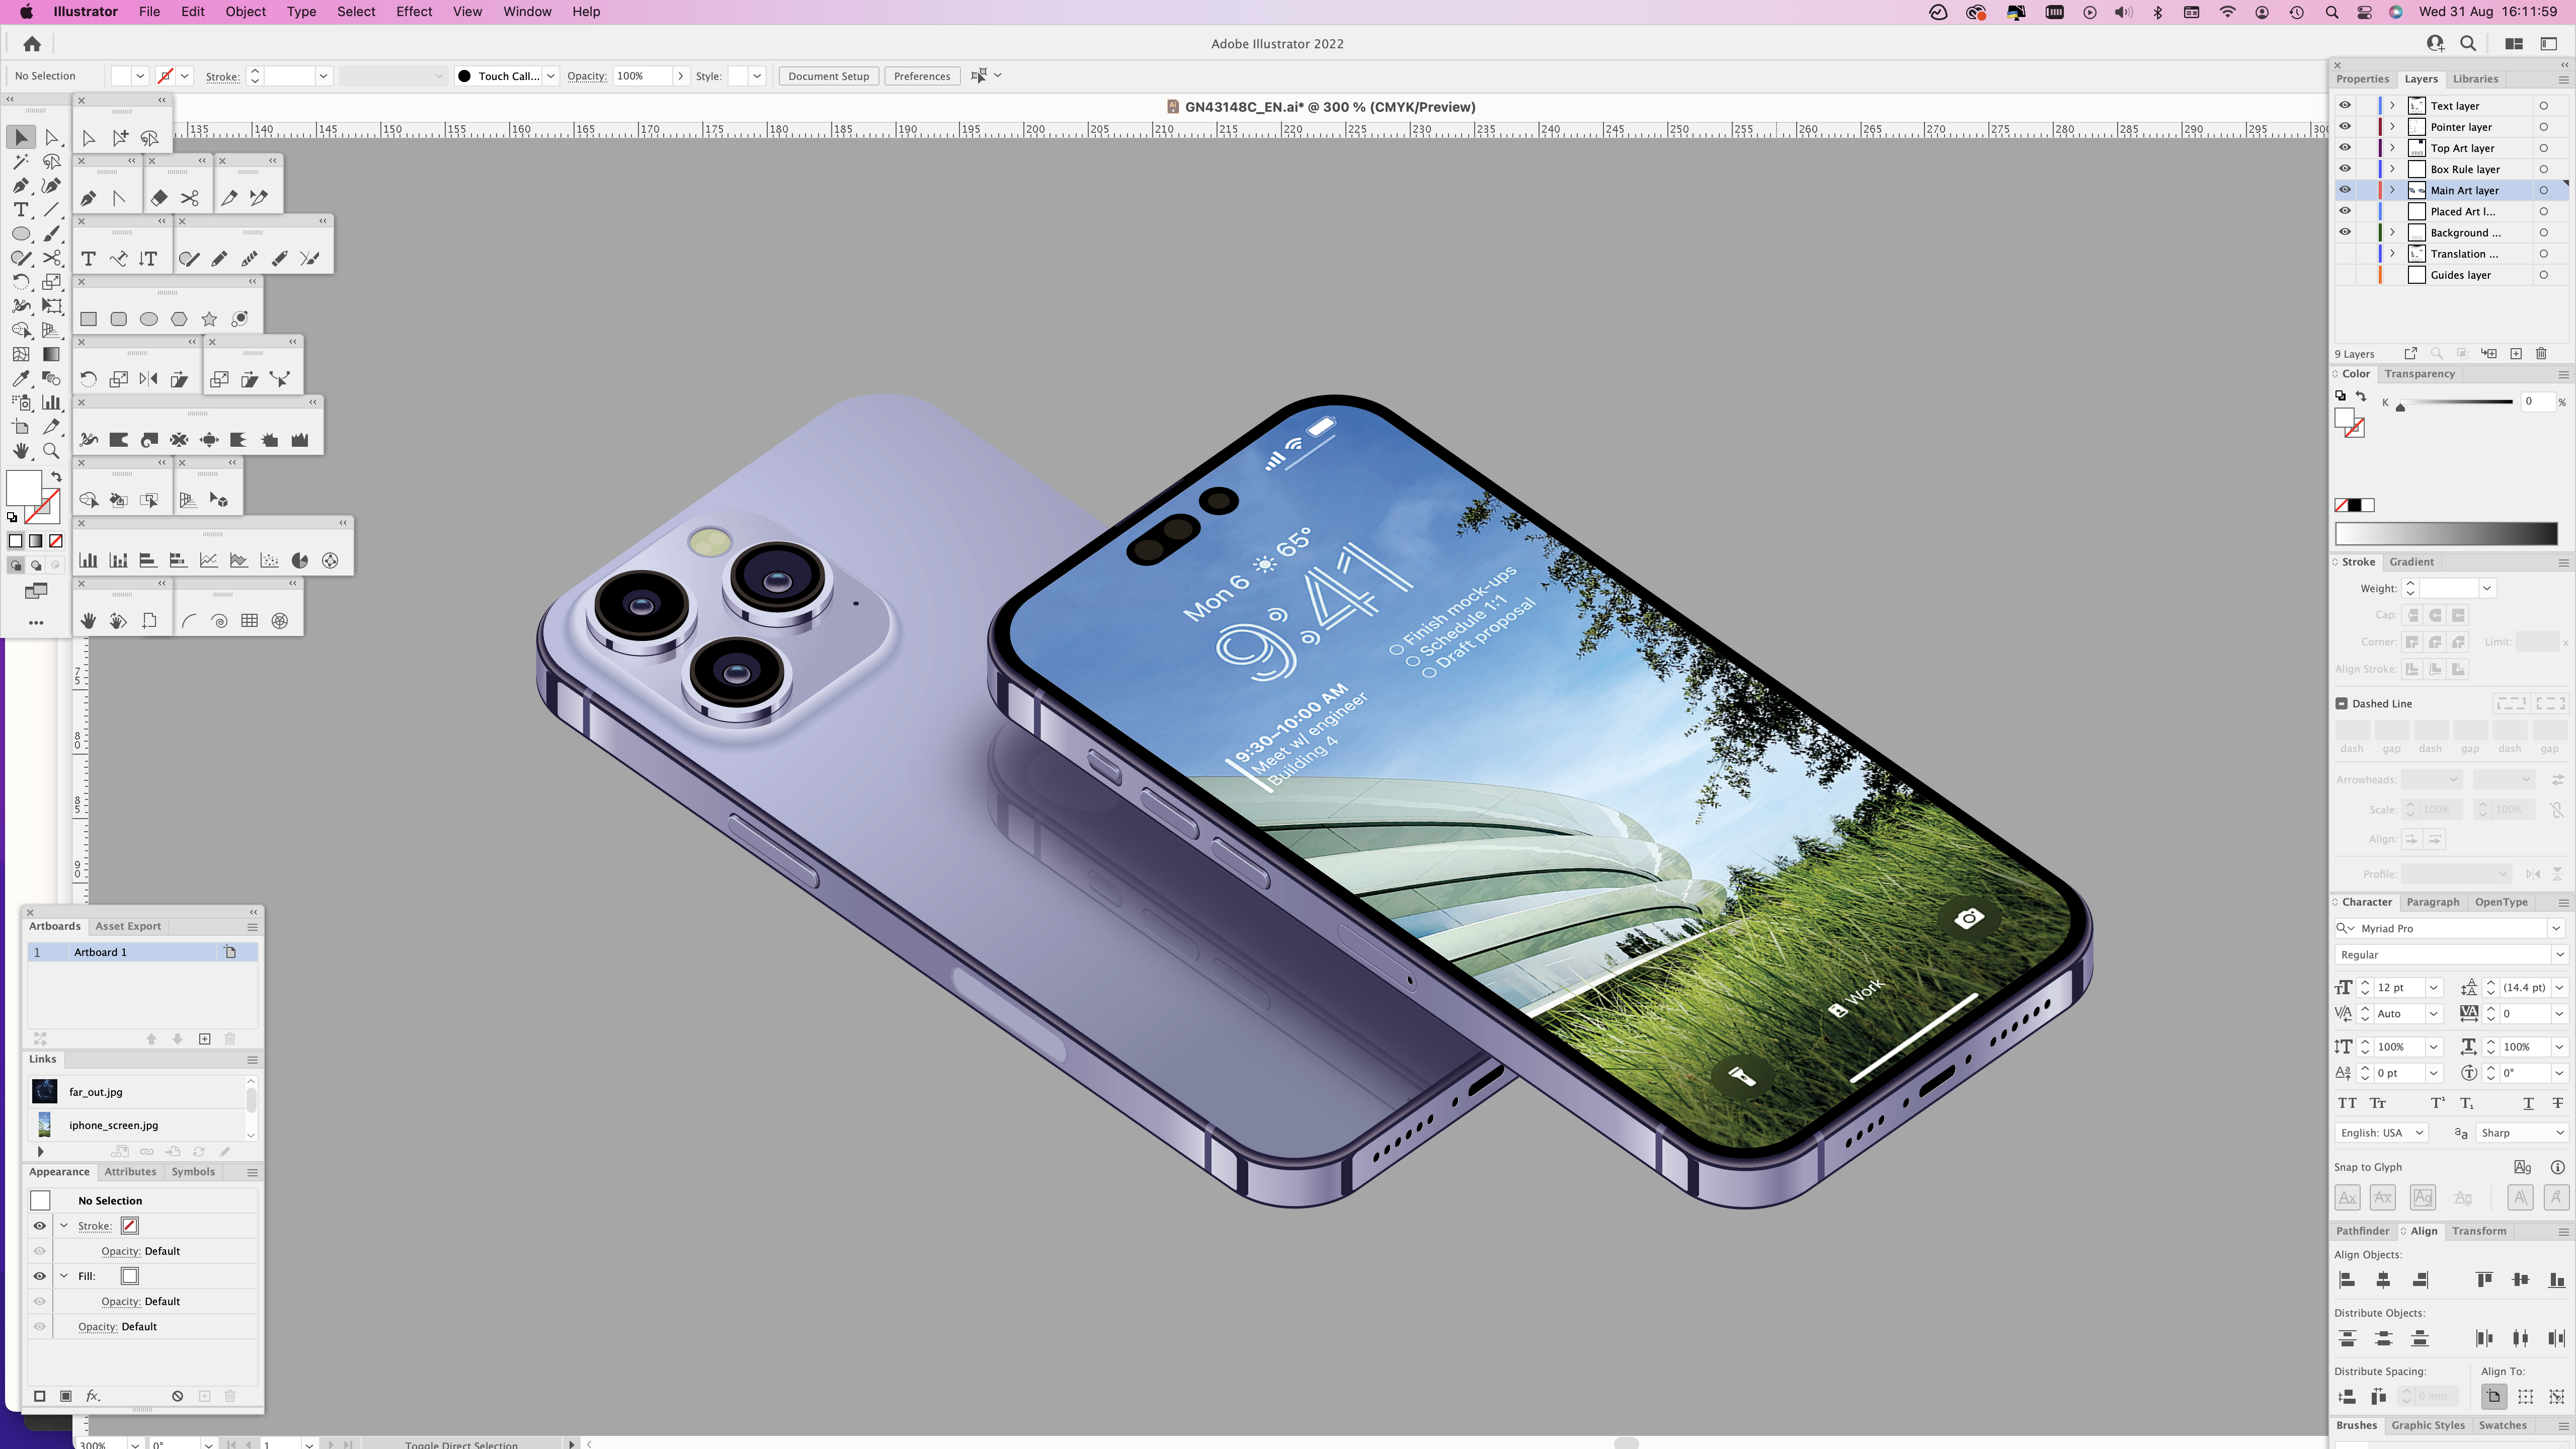 |
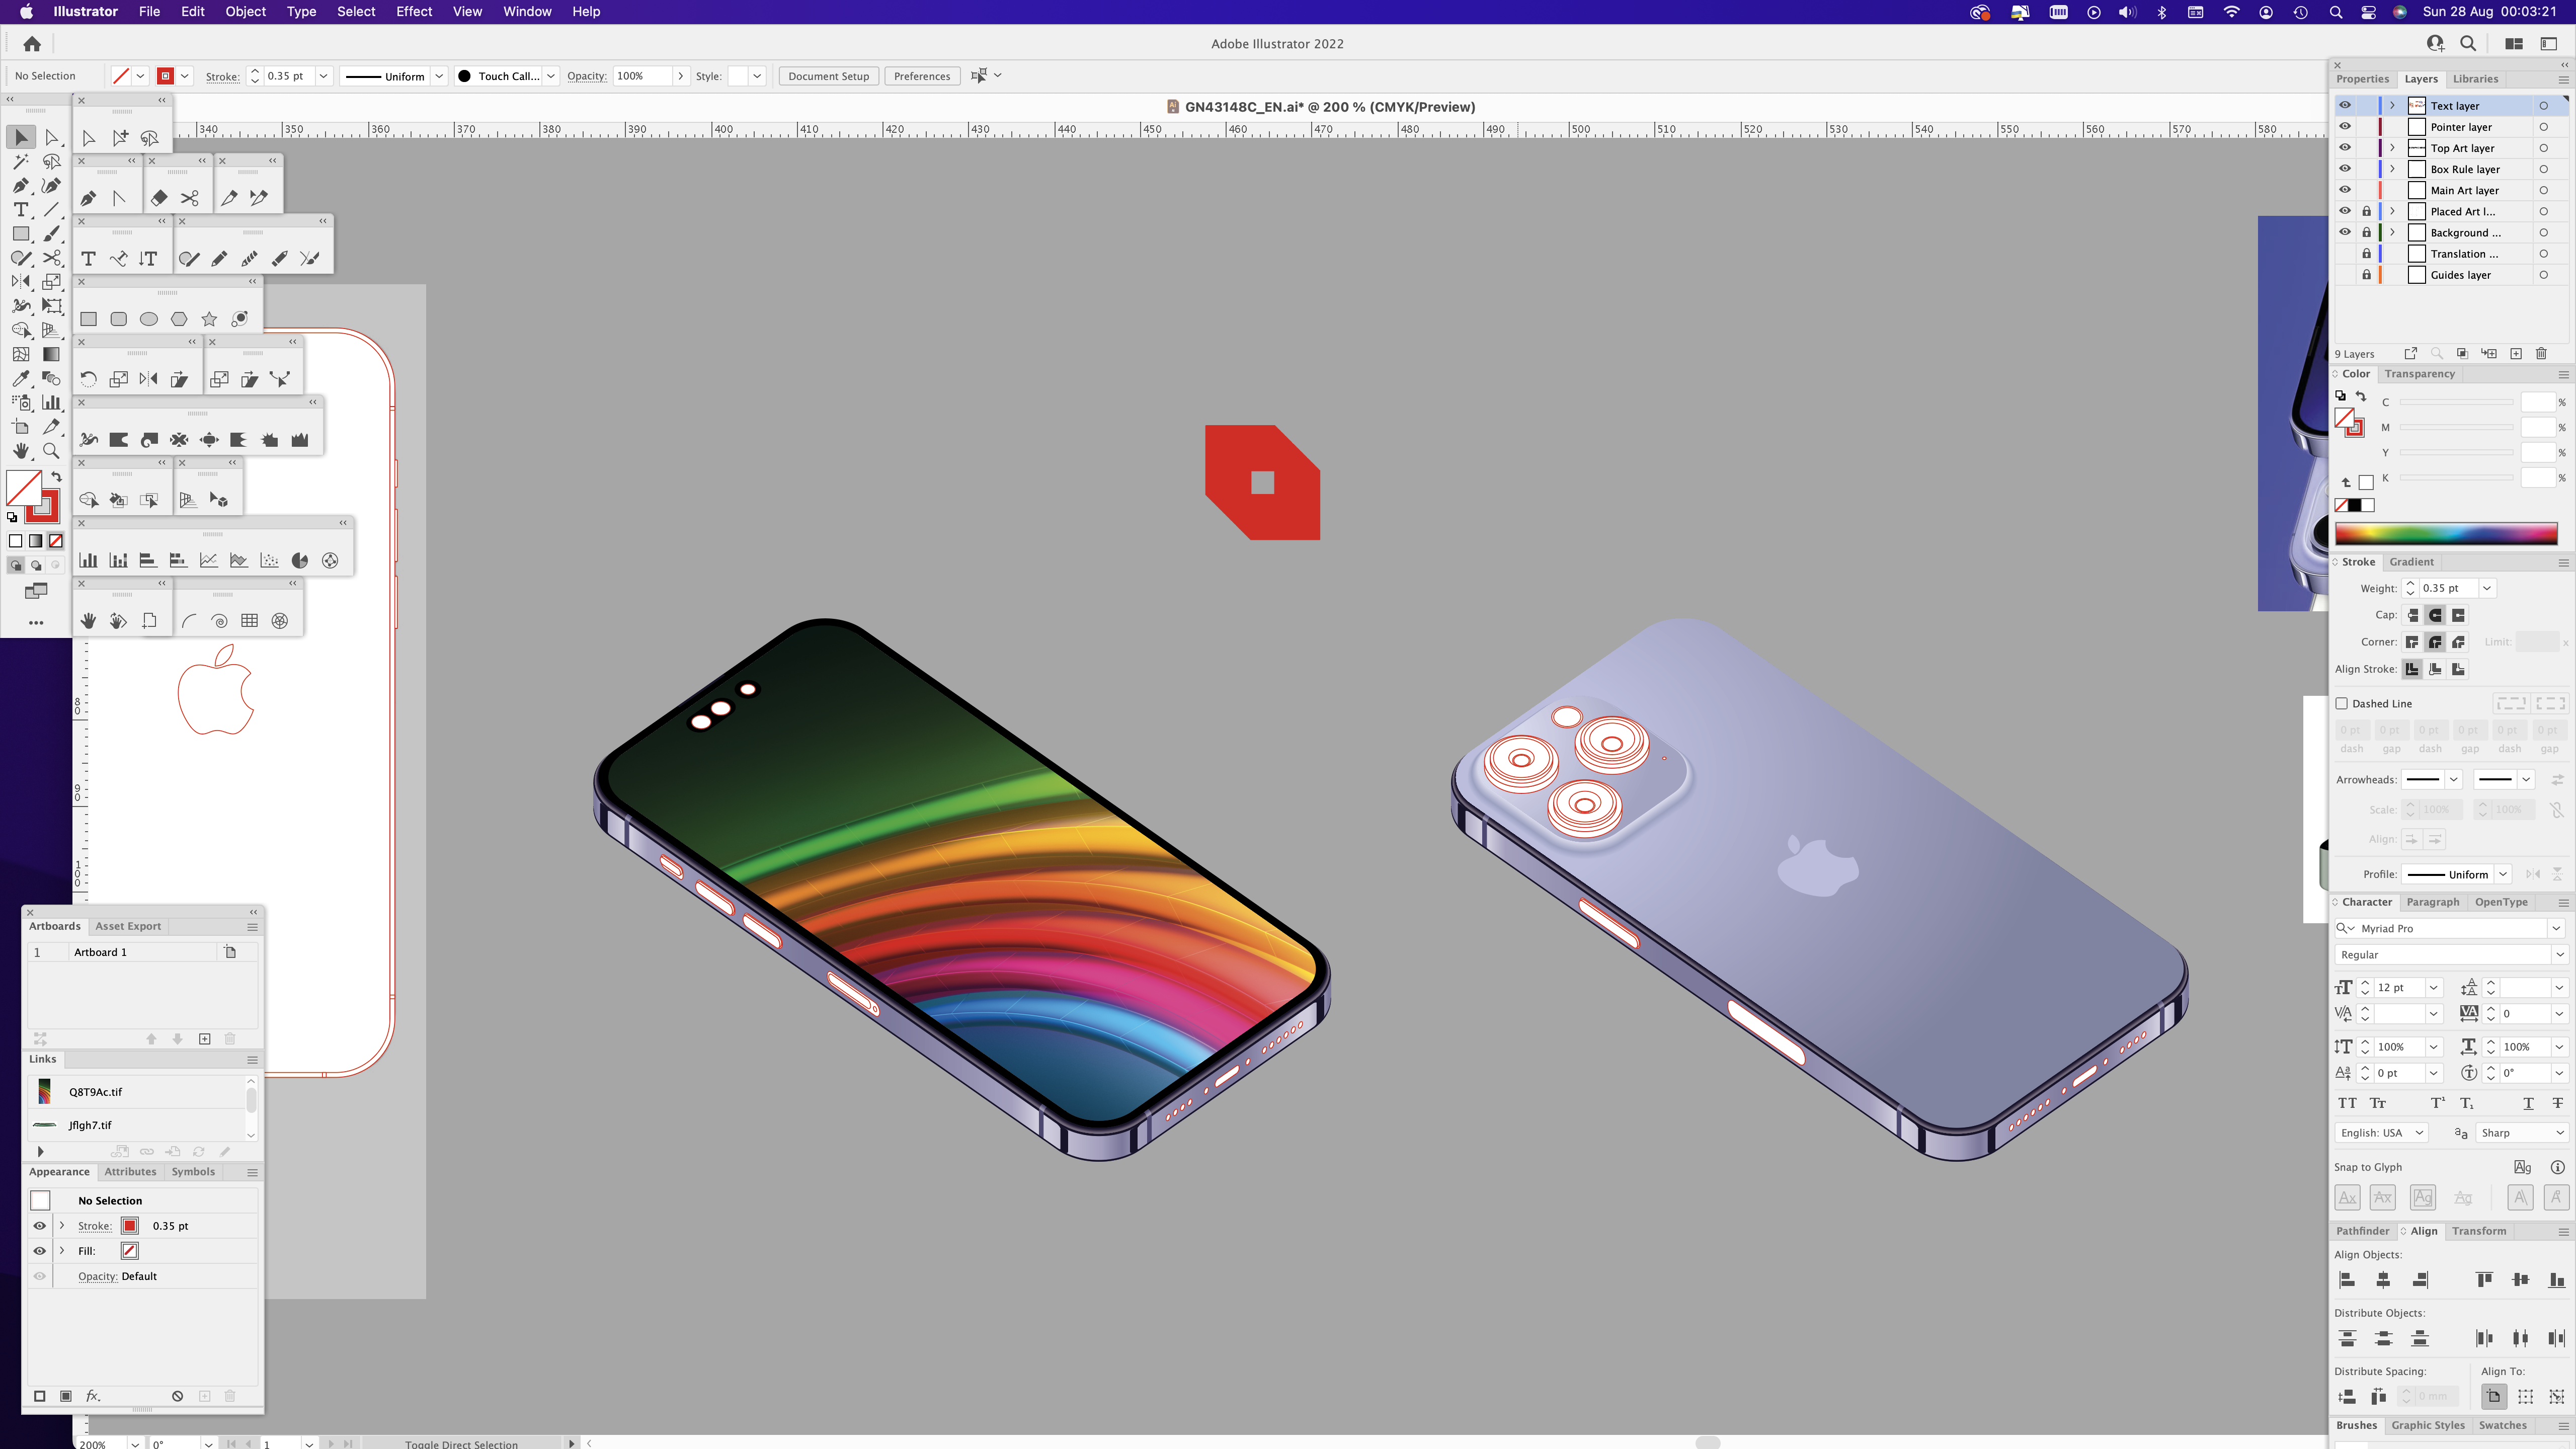
| Here, I've taken an iOS 16 screen image off the Apple website and rotated and scaled it into the correct angle. I've also added a reflection of the upper handset on the lower one’s case and added a shadow. |
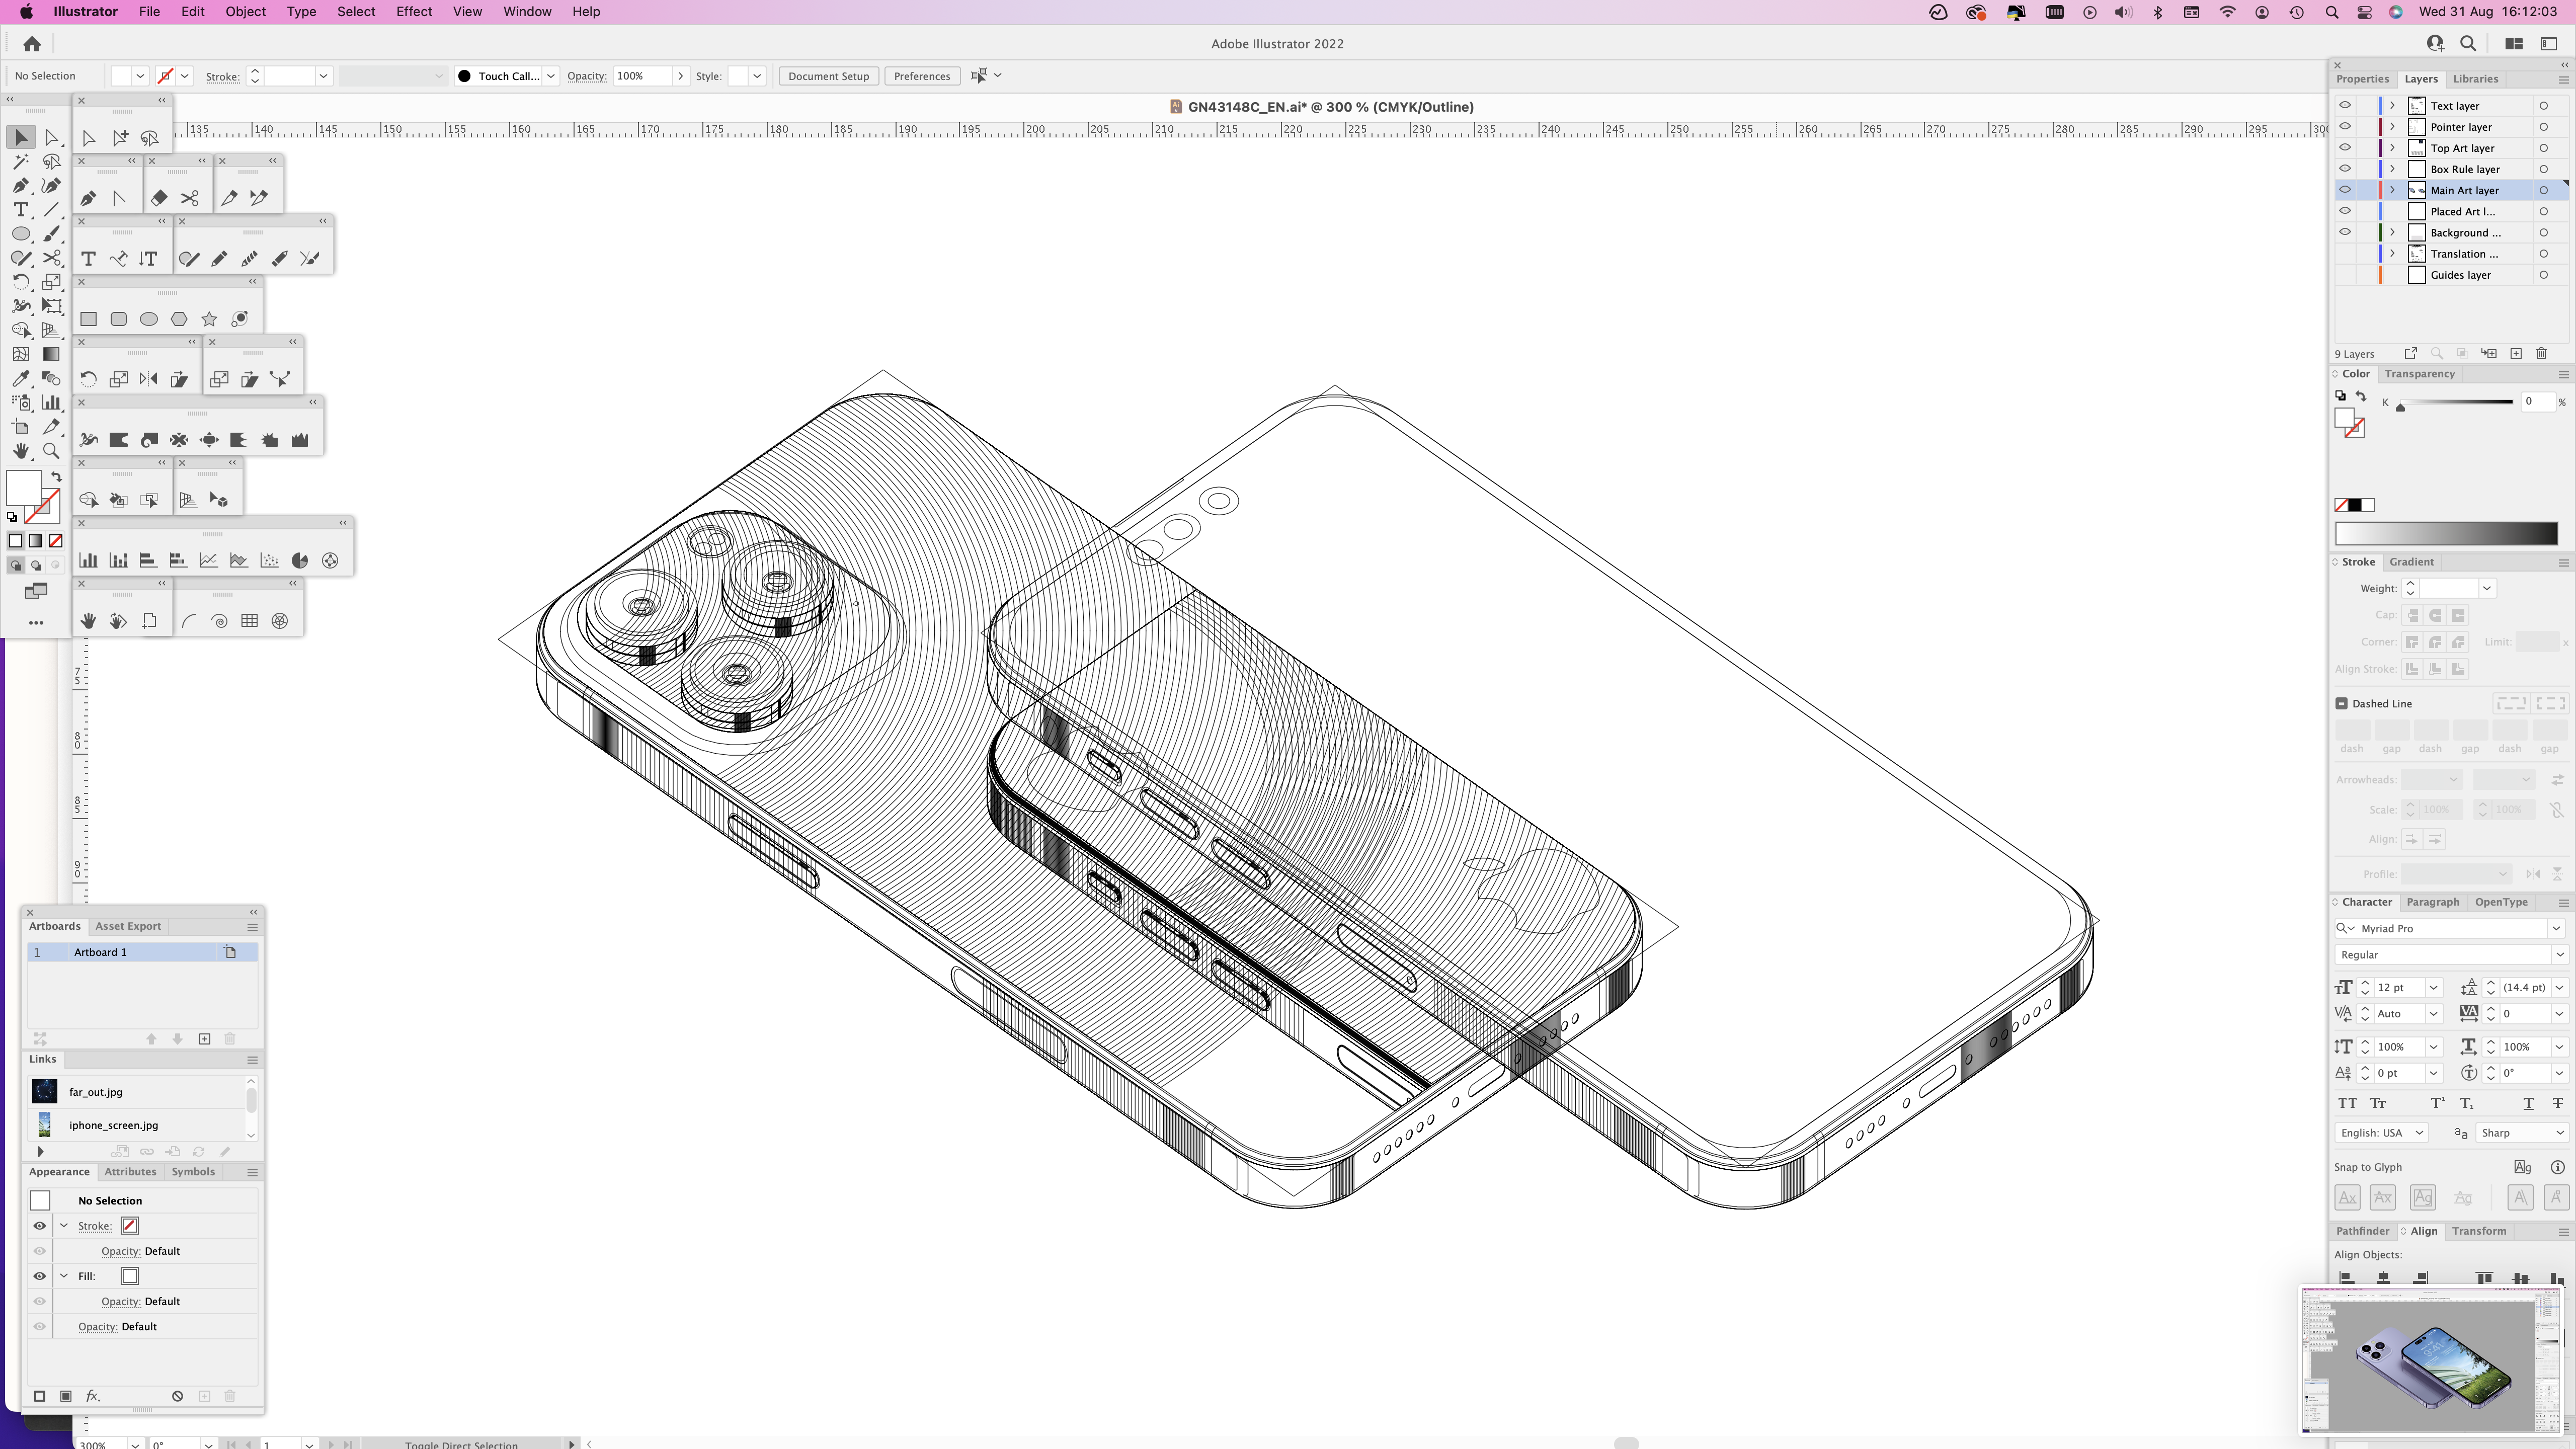 |
| Here’s the same image as a wire frame showing the Adobe Illustrator vector paths. |
 |
| Stage 4: Rotate the graphic by -22.5° and write and arrange the text and some additional simple illustrations. Finished. Thanks for reading. |


Nice work Ninuan!
ReplyDelete